Since we’re spending most of the holiday season on travel, we had to add some Christmas spirit to our own back porch. JD knows how much I love decorating for Christmas - and being able to enjoy it. This whole driftwood Christmas tree was actually his idea!! People think I’m the creative one in the family, but he comes up with genius ideas like this all of the time. It always takes me by surprise and keeps me on my toes. He did, however, underestimate the gravity of his idea once I started piling on five foot pieces of driftwood in his arms. ;)
This is a fun project for the whole family! On Thanksgiving morning, JD and I gathered the larger pieces of driftwood while Mia Kai collected the smaller pieces in her sand castle bucket. She also found a great collection of pretty seashells that we may add onto our tree later during our stay.
Let me note that Hawaii had some pretty crazy storms a few months ago so the beaches on Kauai are still scattered with perfect (or rather, perfectly imperfect) pieces of driftwood. The beaches are also scattered with huts and wooden masterpieces that people have made out of the driftwood. (See below for the coolest hut that will transport you straight to Gilligan’s Island).

Fun little fact: We were in Germany for Christmas a few years ago and we bought our first live Christmas tree. It was tiny (maybe 1’ tall), flocked and upheld dainty red candles around it. Since I have always grown up with an artificial tree (and we’ve kept that tradition alive and well in our own family), I feared lighting those candles. What if the tree dried out and I didn’t know it?! I would’ve set our hotel on fire. RIGHT?! Or is that a myth? Are you a live tree or artificial tree kind of family?
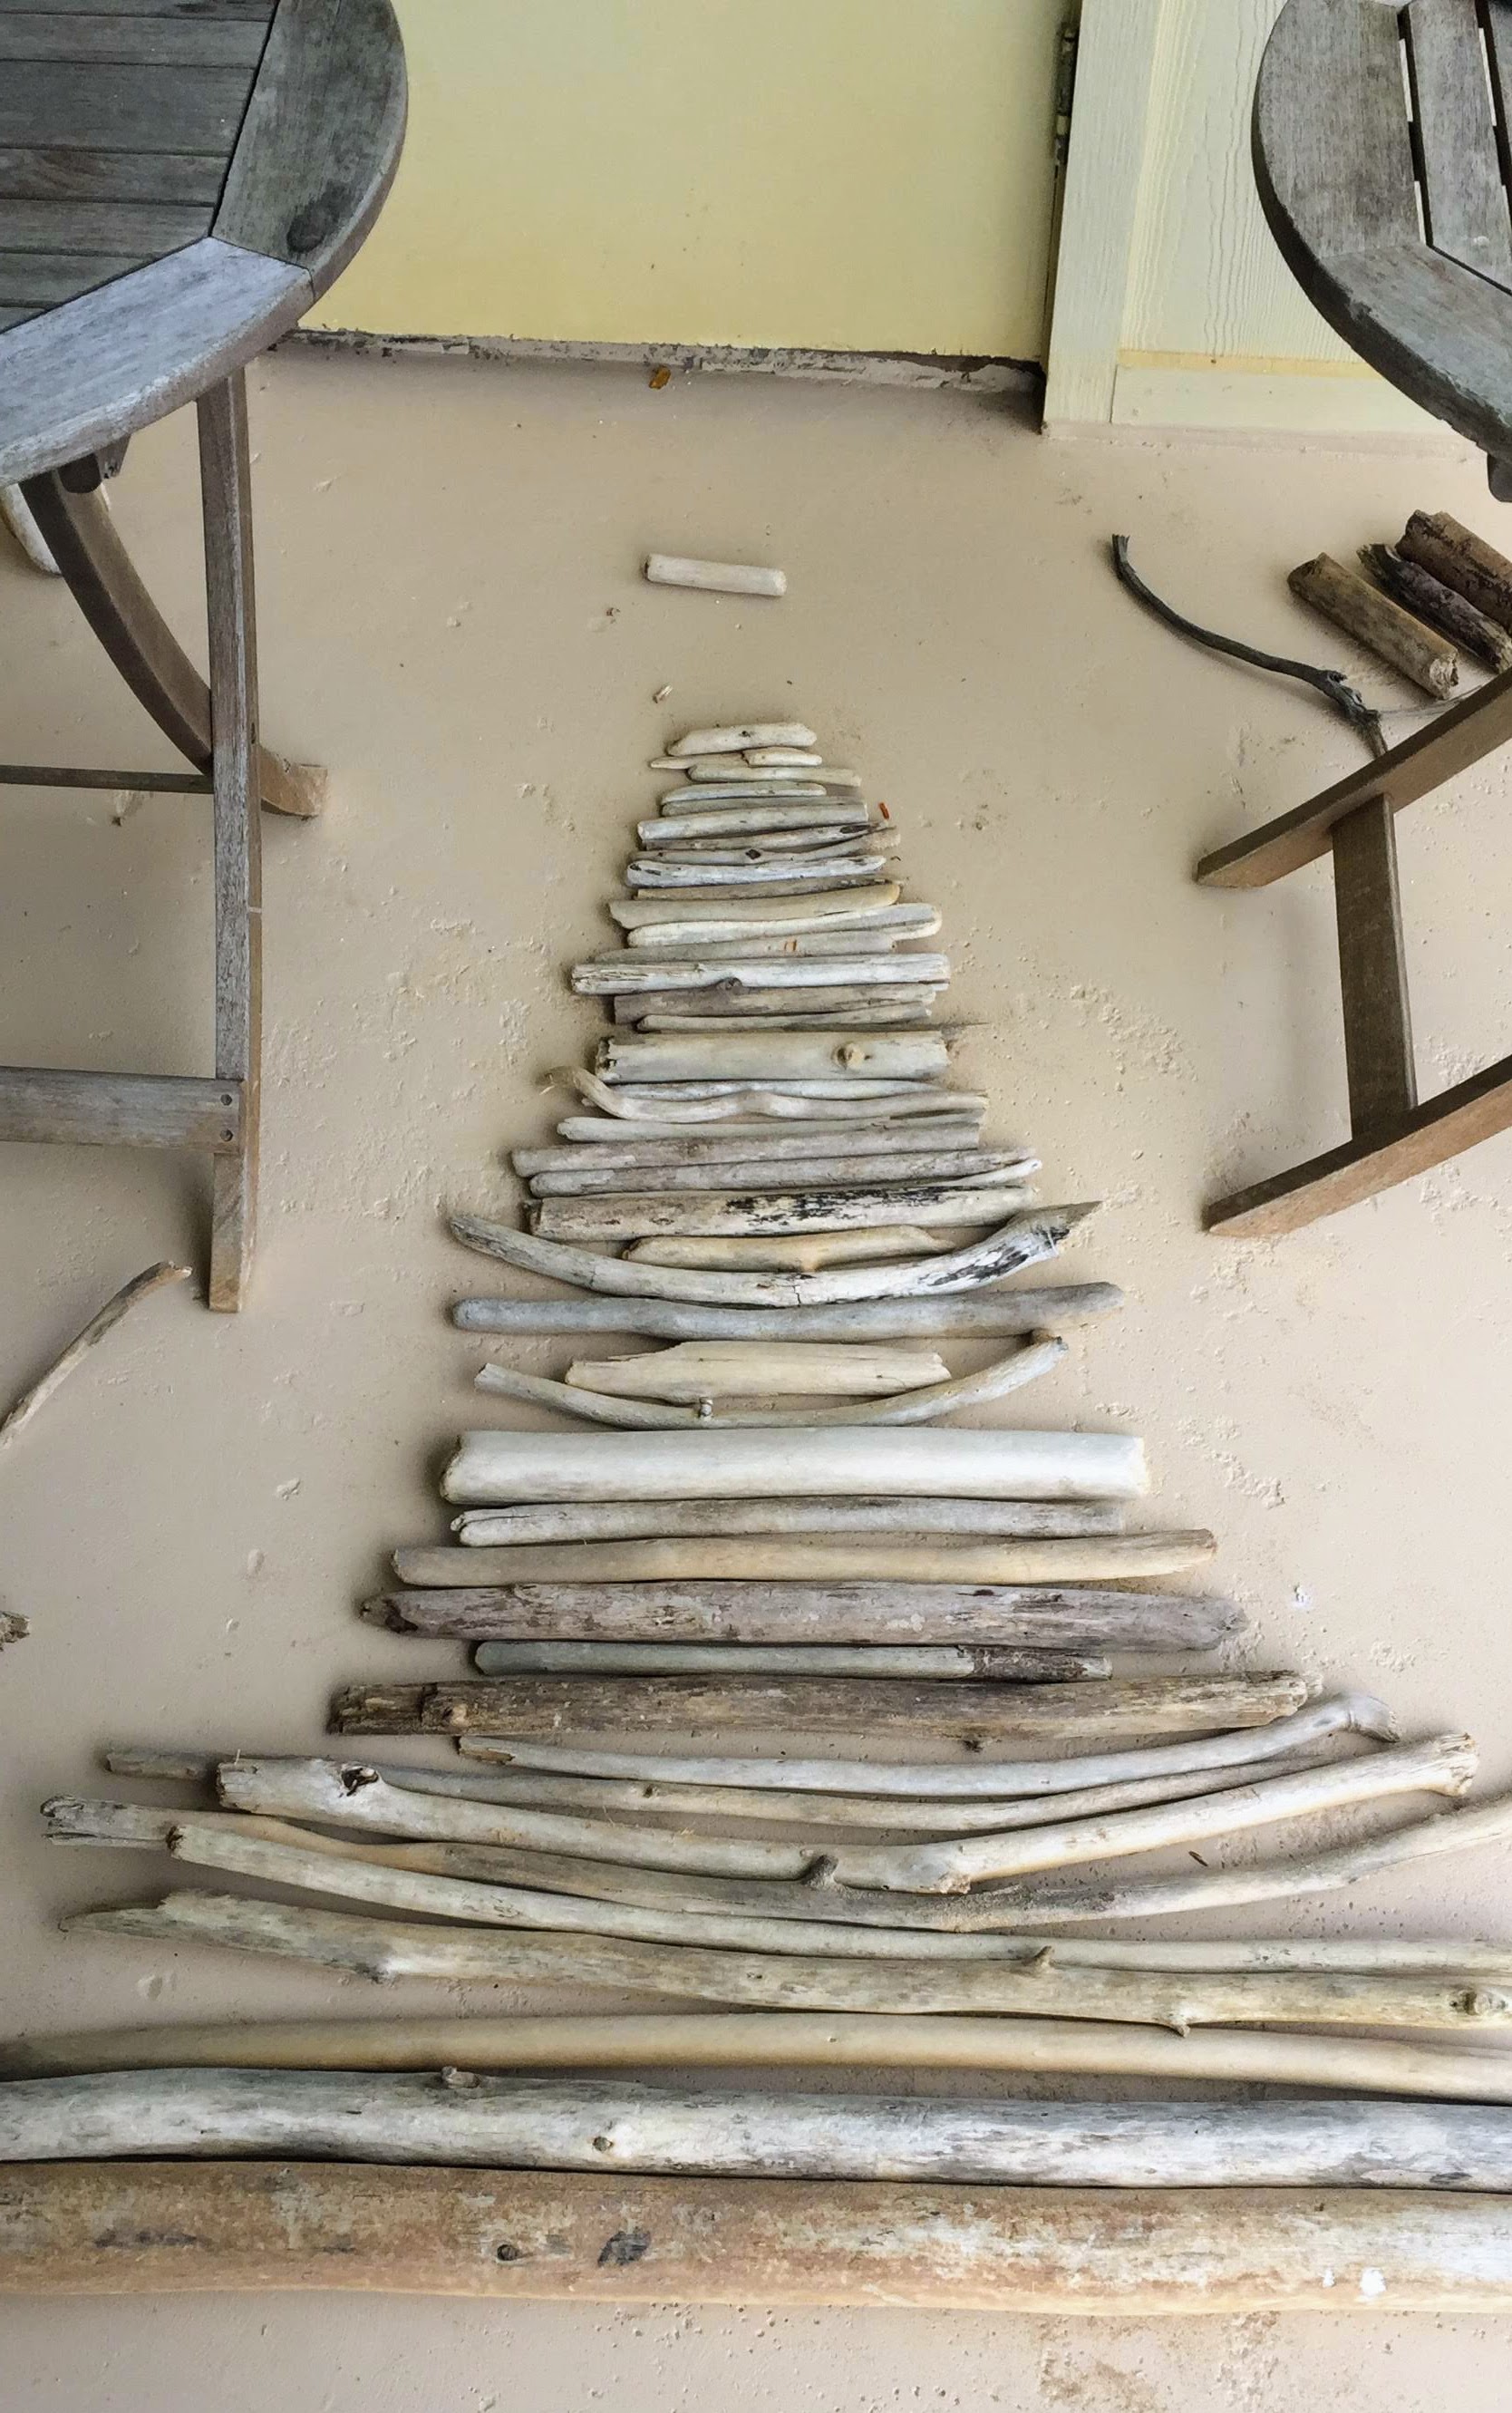
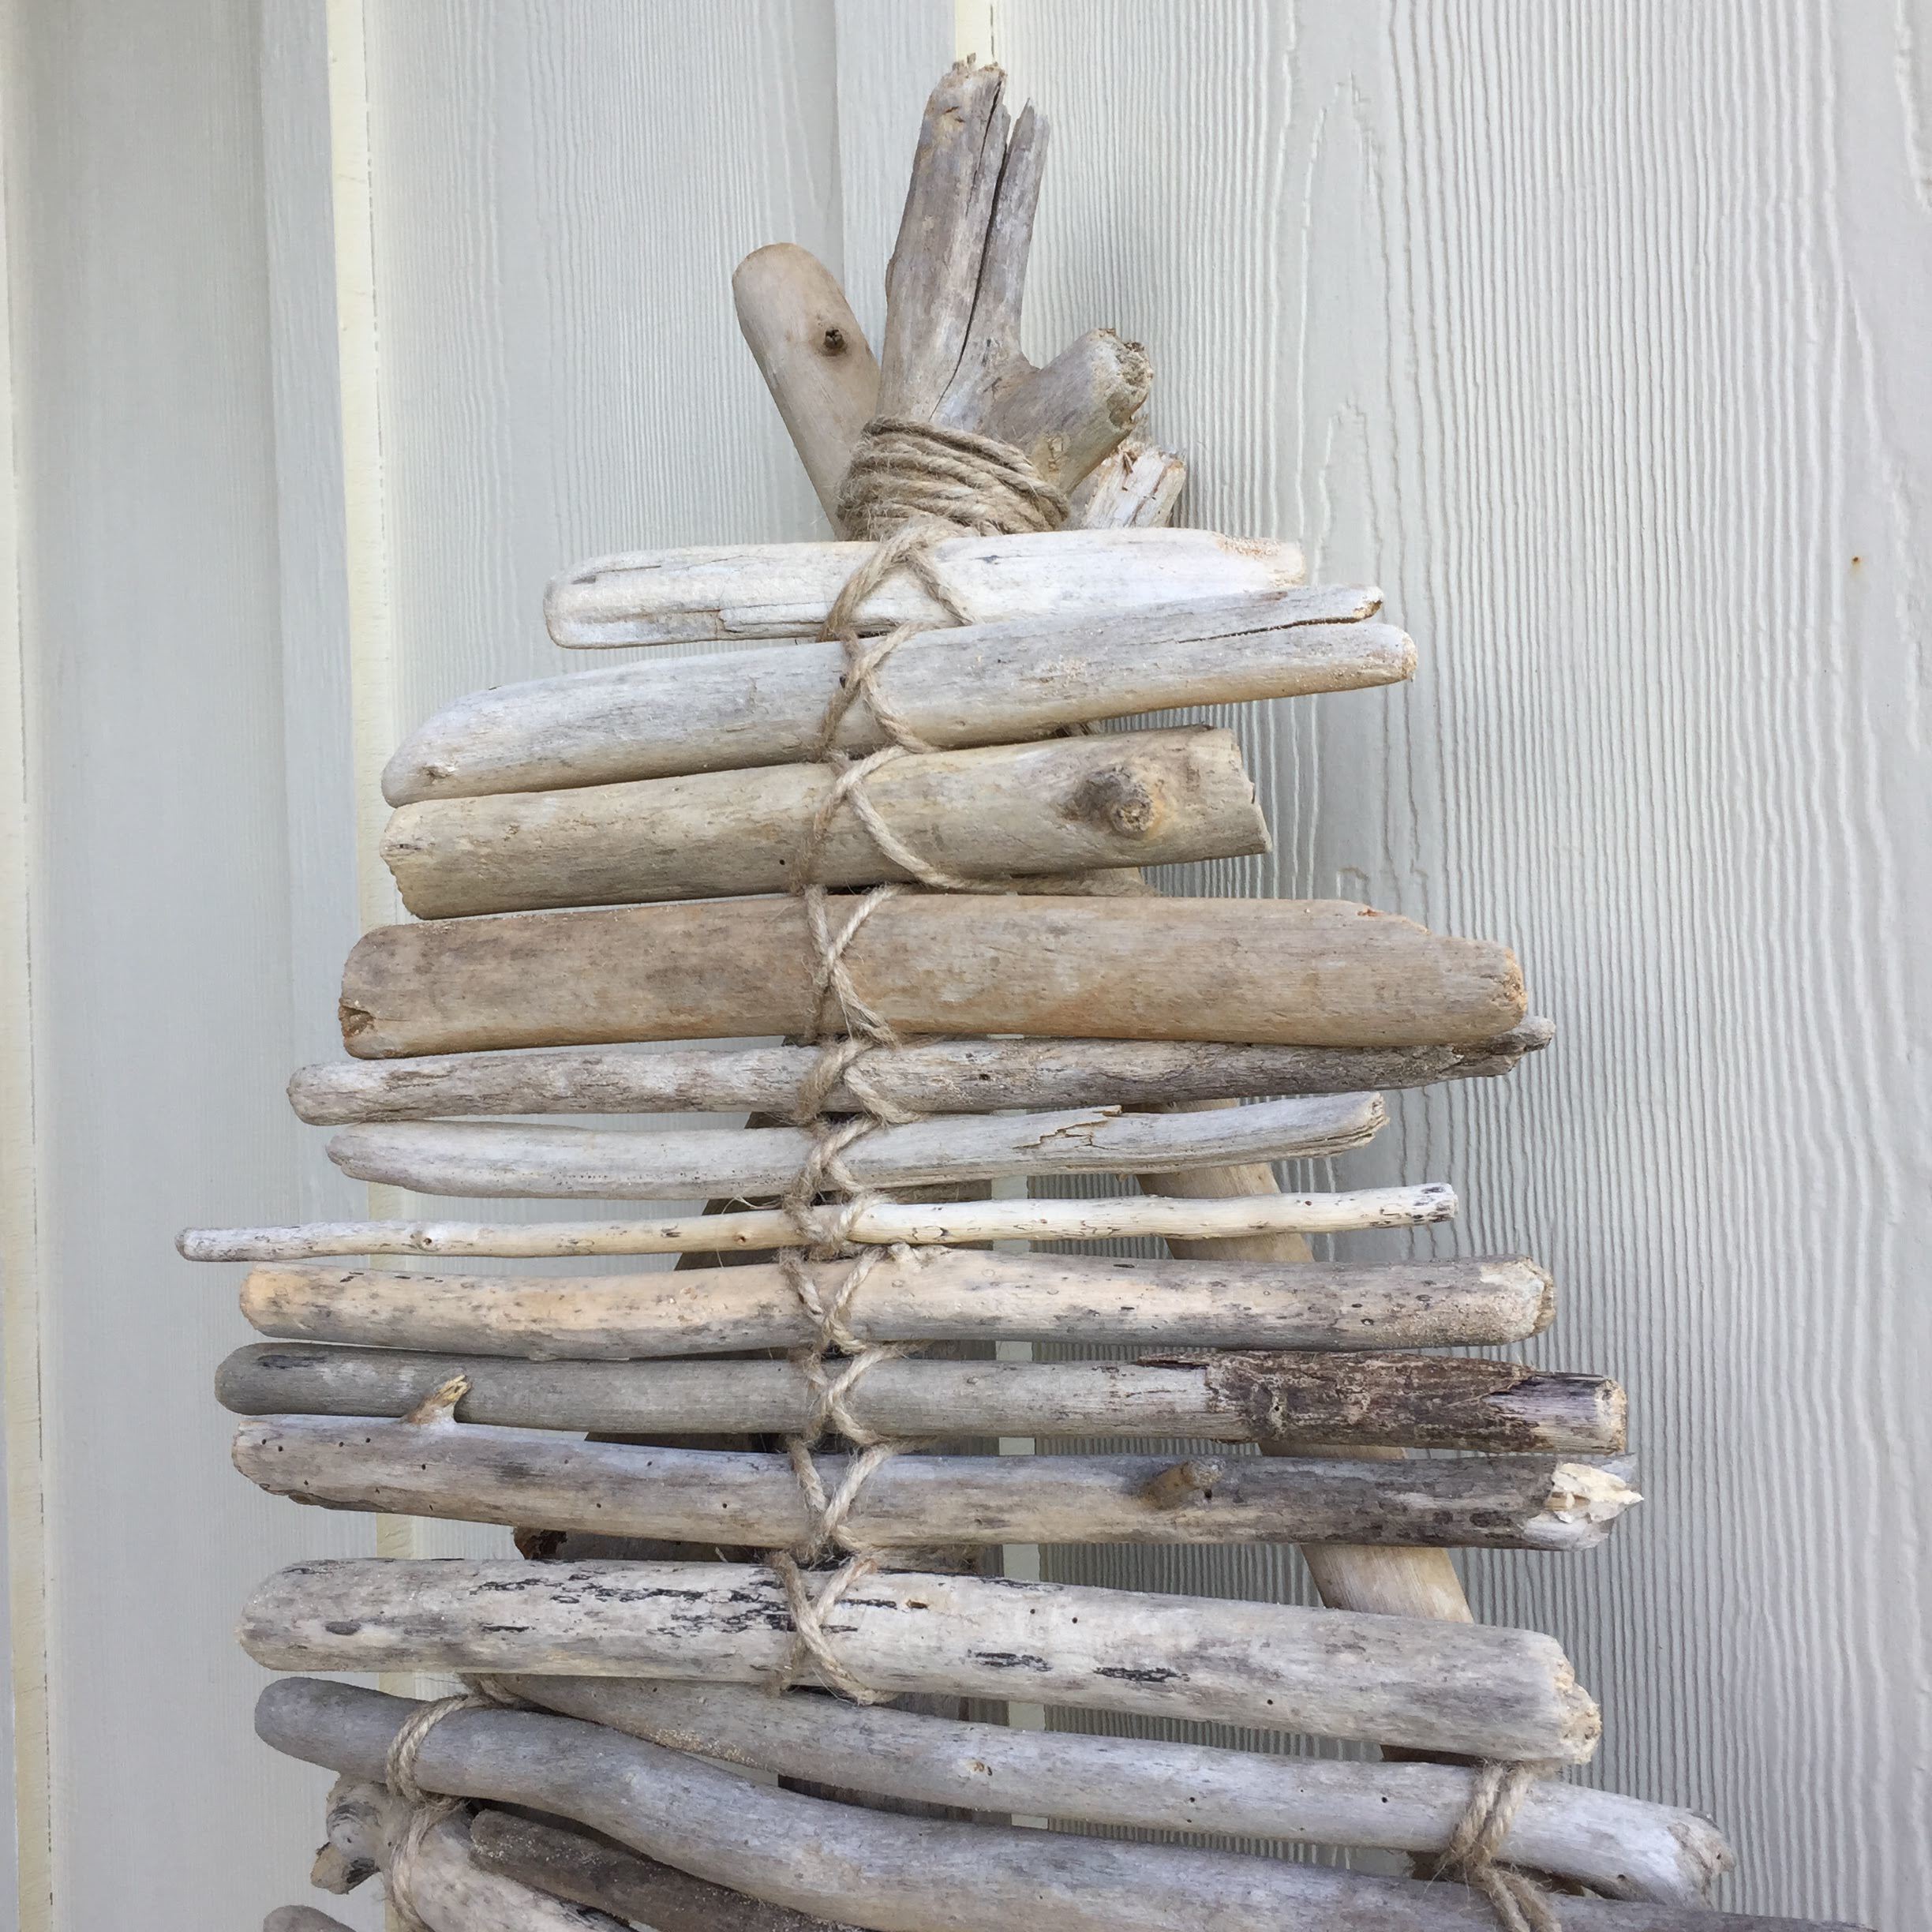
Onward to the Christmas tree making process! After we gathered our pieces, we laid them all out in a Christmas tree formation. We put the three largest pieces aside and let those form our template.
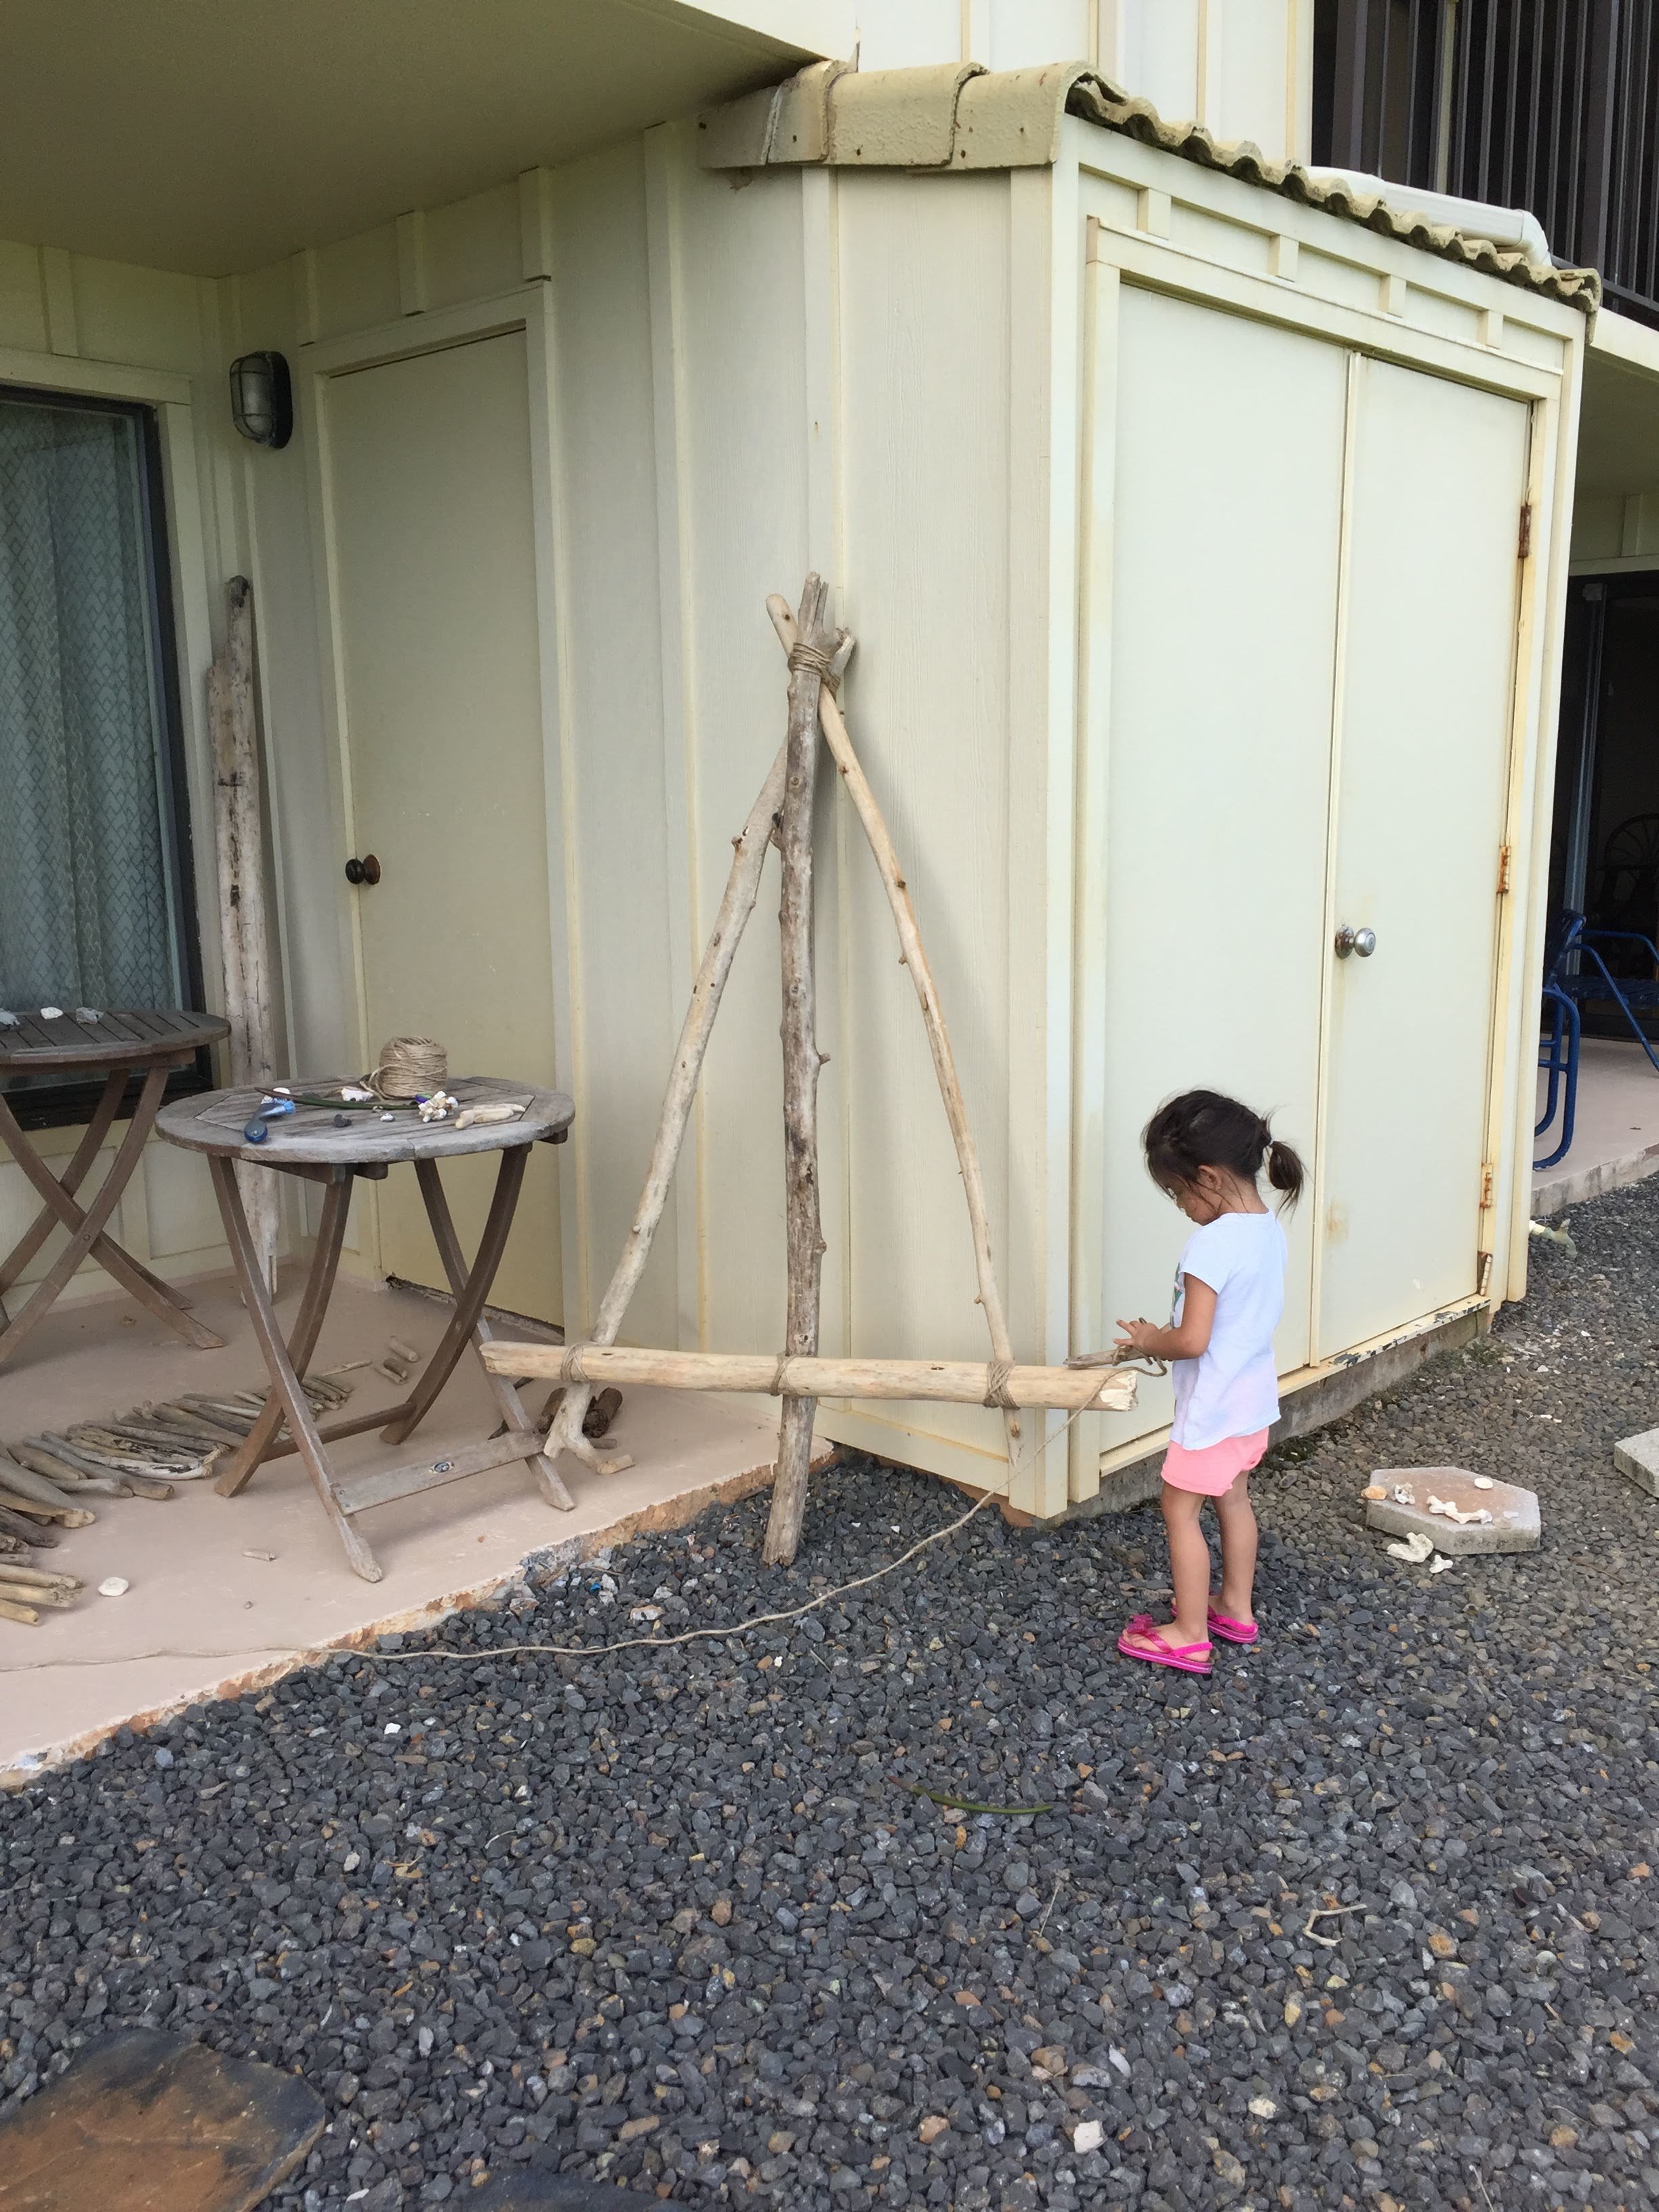
After we arranged the pieces, I laid out the three biggest pieces on top of the formation then tied them at the top with twine. There was no science to it. I literally just kept twisting and turning until it all felt snug. Then I tied the bottoms of the three pieces to the largest base piece from the formation. I gave Mia Kai a long string of twine so she could ‘help’ me tie them all together. I did the more intensive part during her nap time because let’s be real, it would get real crazy if I had another set of hands helping during that part.


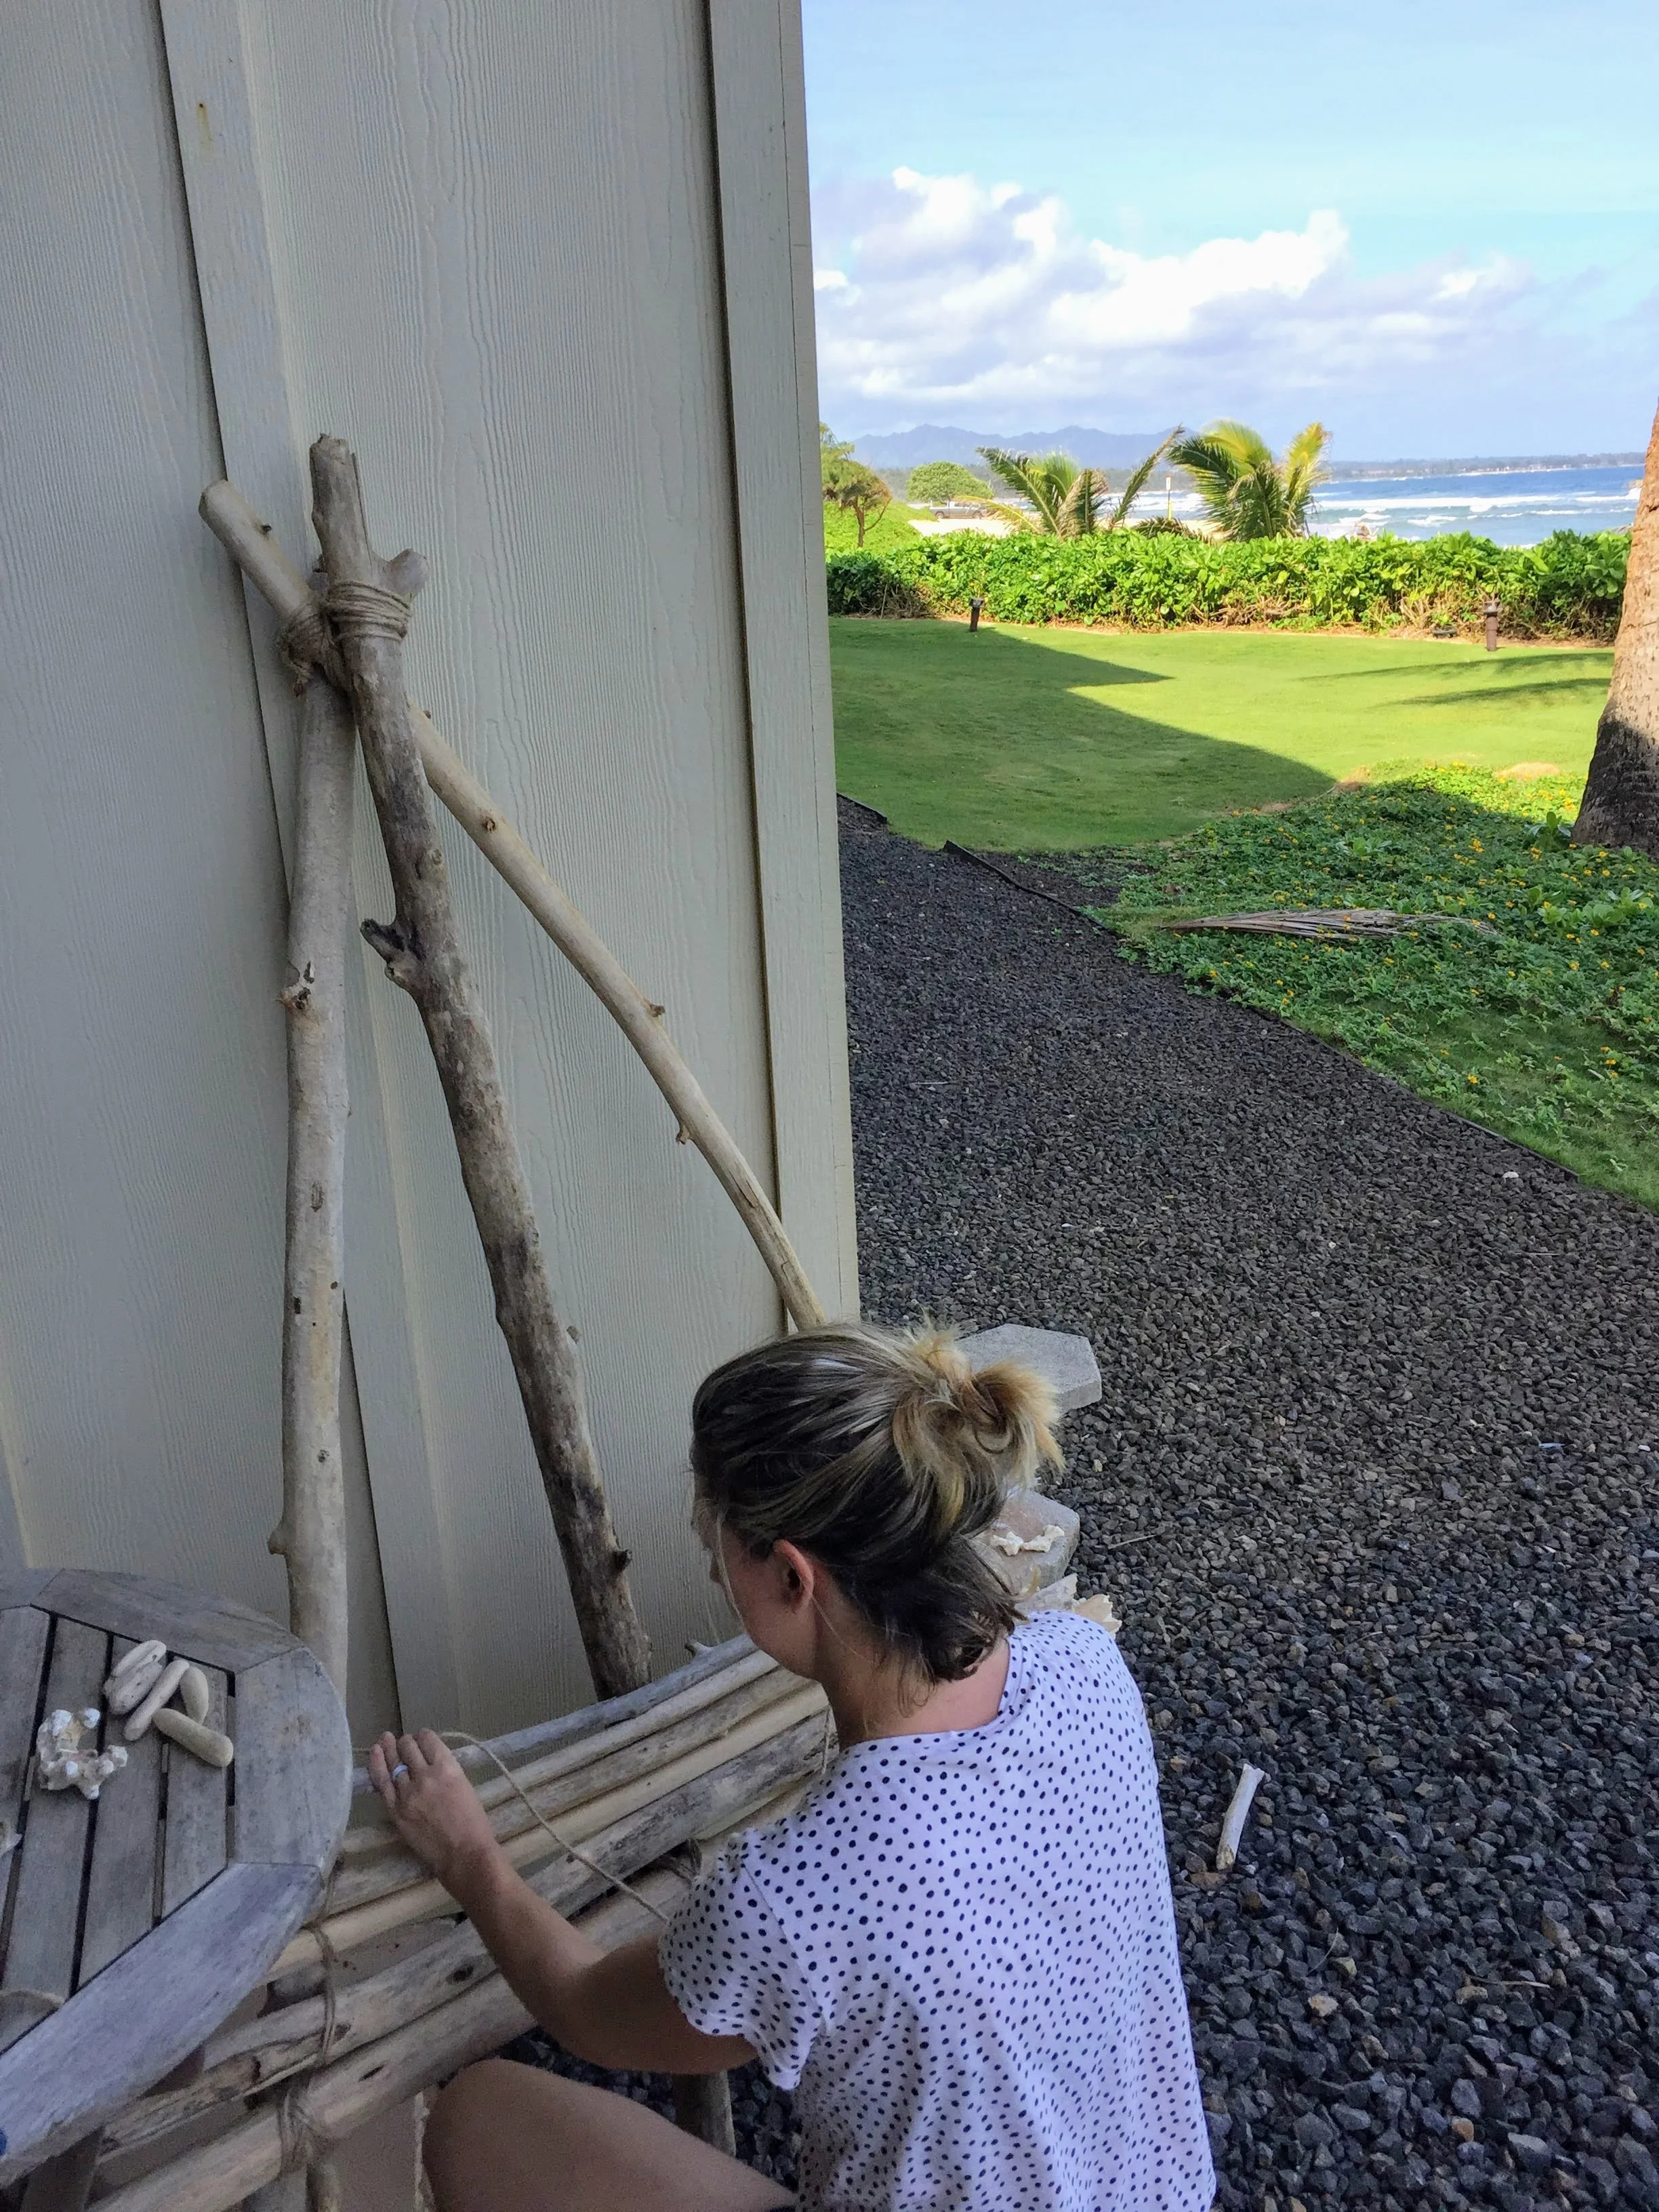
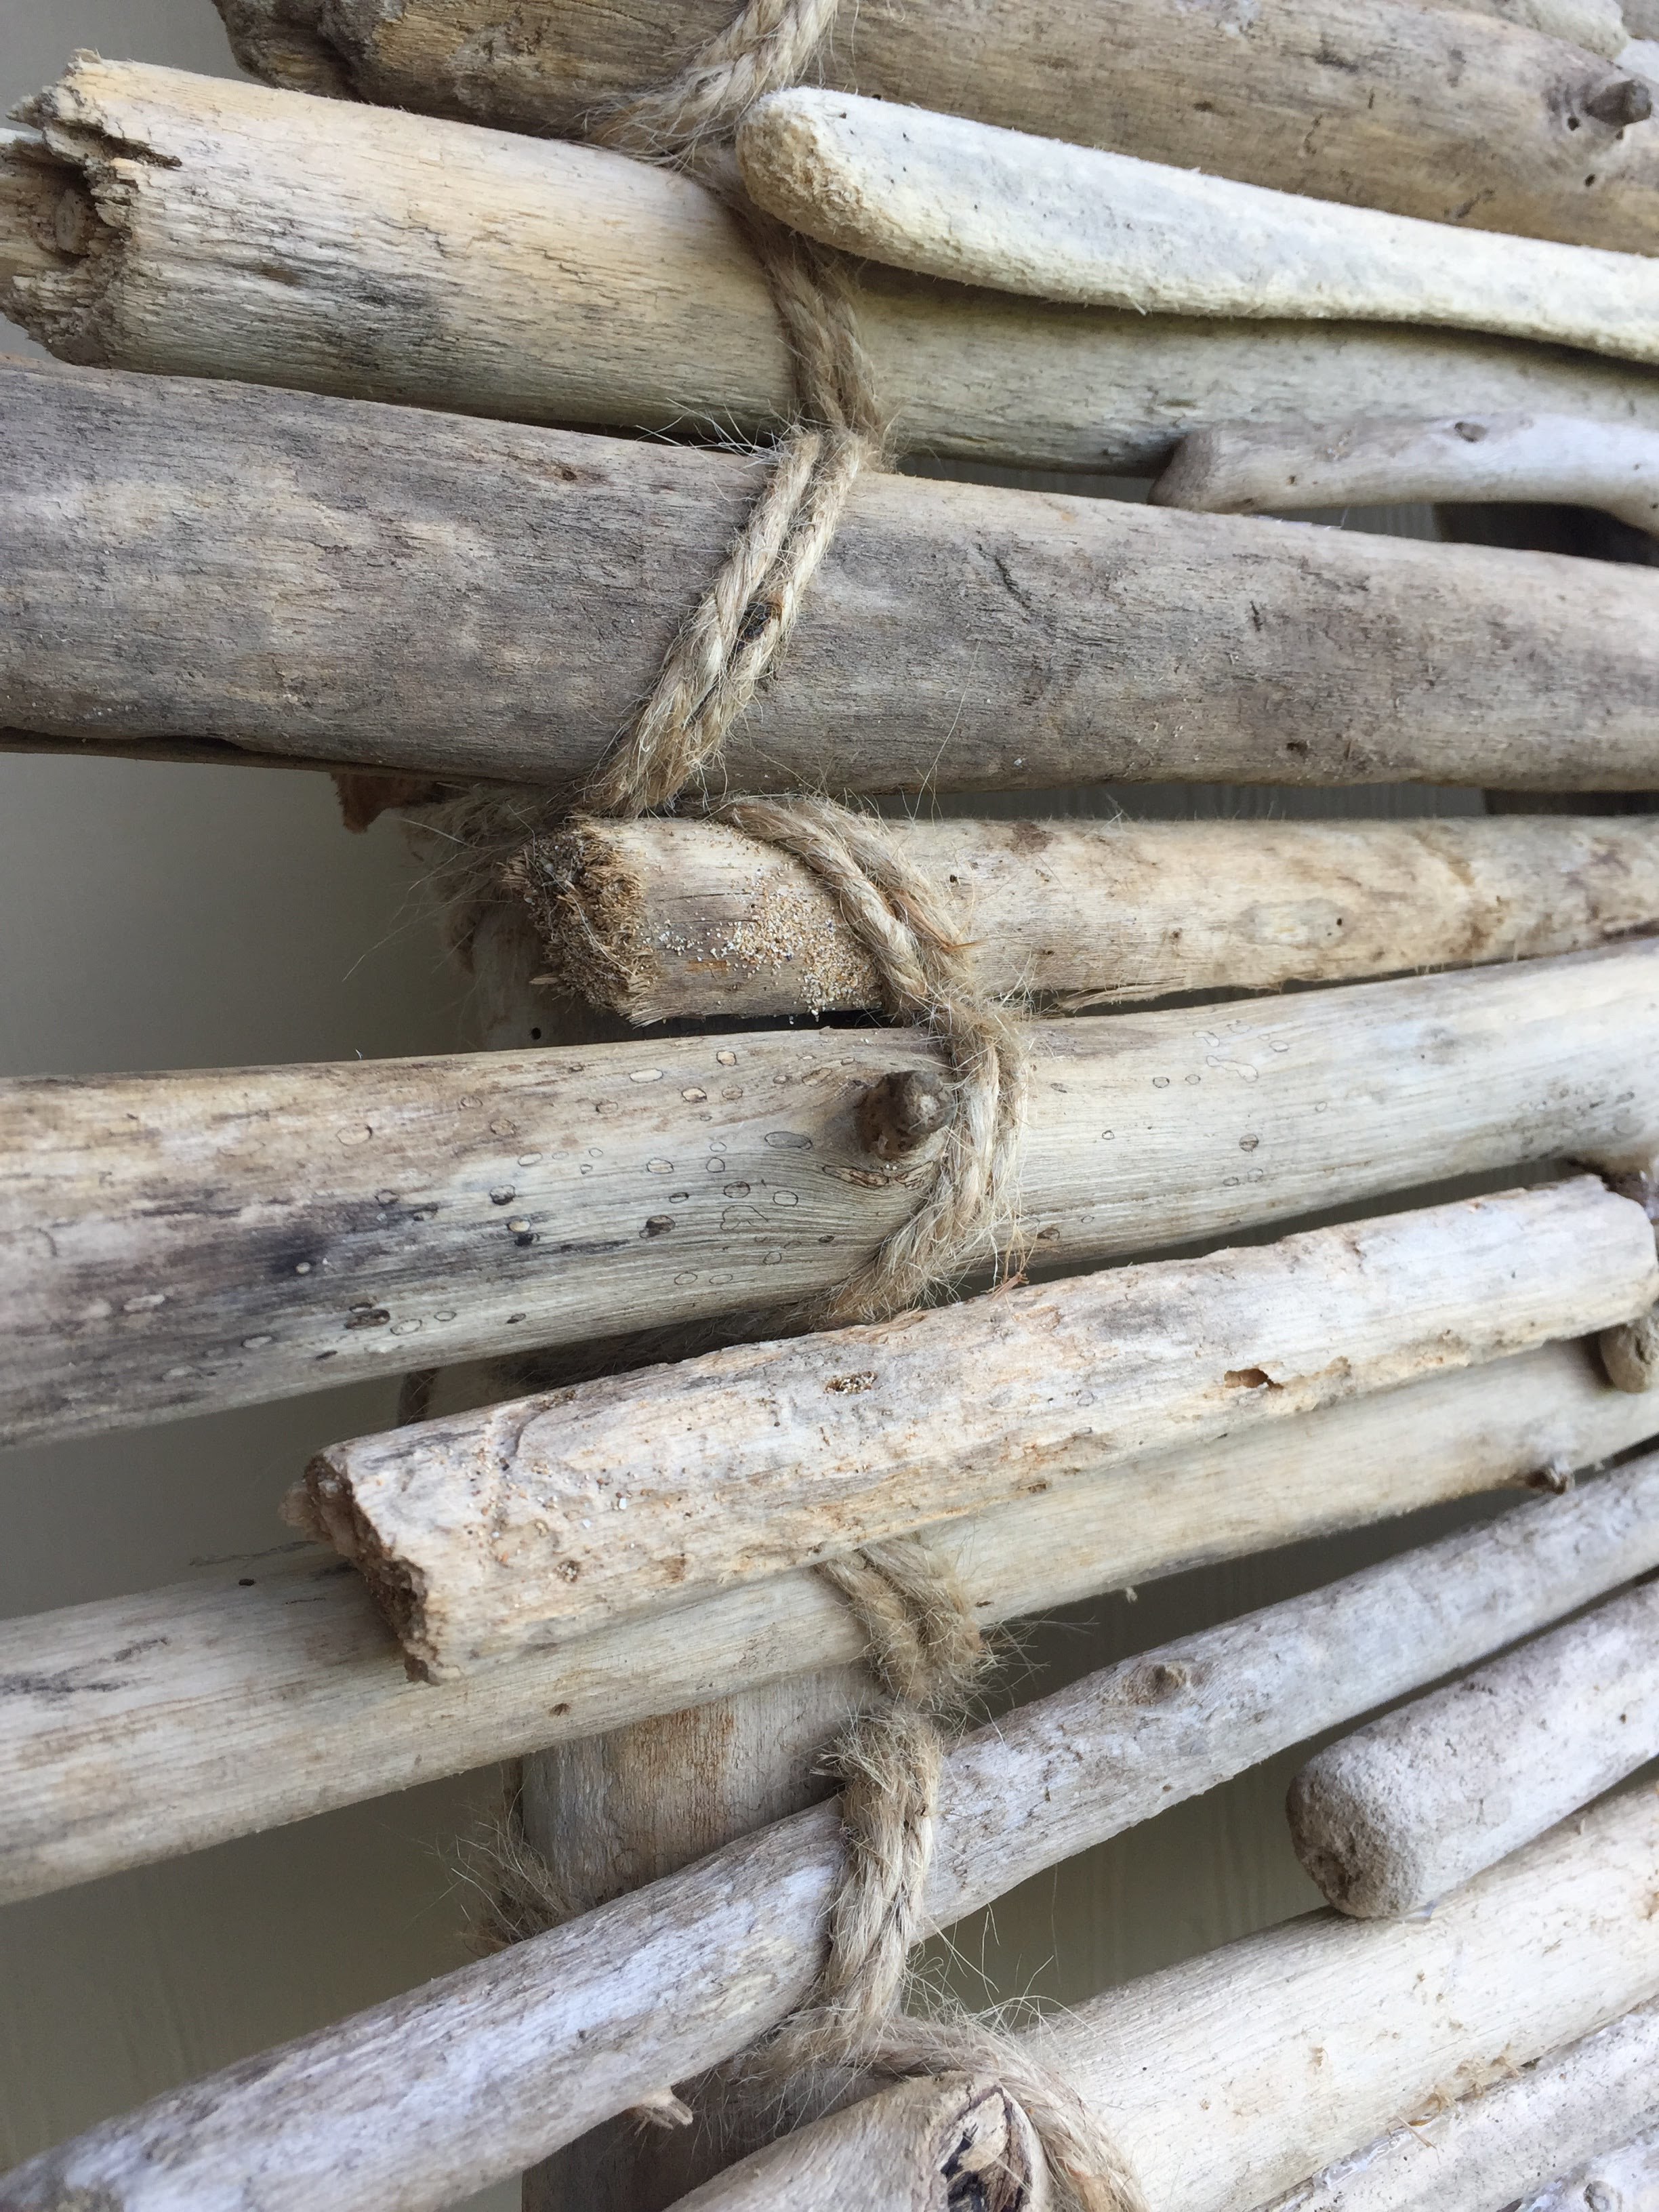
Next step: Cut two long pieces of twine (just long enough to twist around at least 10 sticks or so, but short enough to where it won’t get massively tangled - speaking from experience). I used one string per side, keeping only that one string on that side. Tie the first stick and the side driftwood piece together, looping the twine around them about three times. Do the same process on the other side. Repeat that process for each stick. I alternated in the tree for one stick then coming around from the outside for the next stick, which created a bit of an arrow pattern. Tie off the string each time you come to the end of your rope, then start another piece of twine.
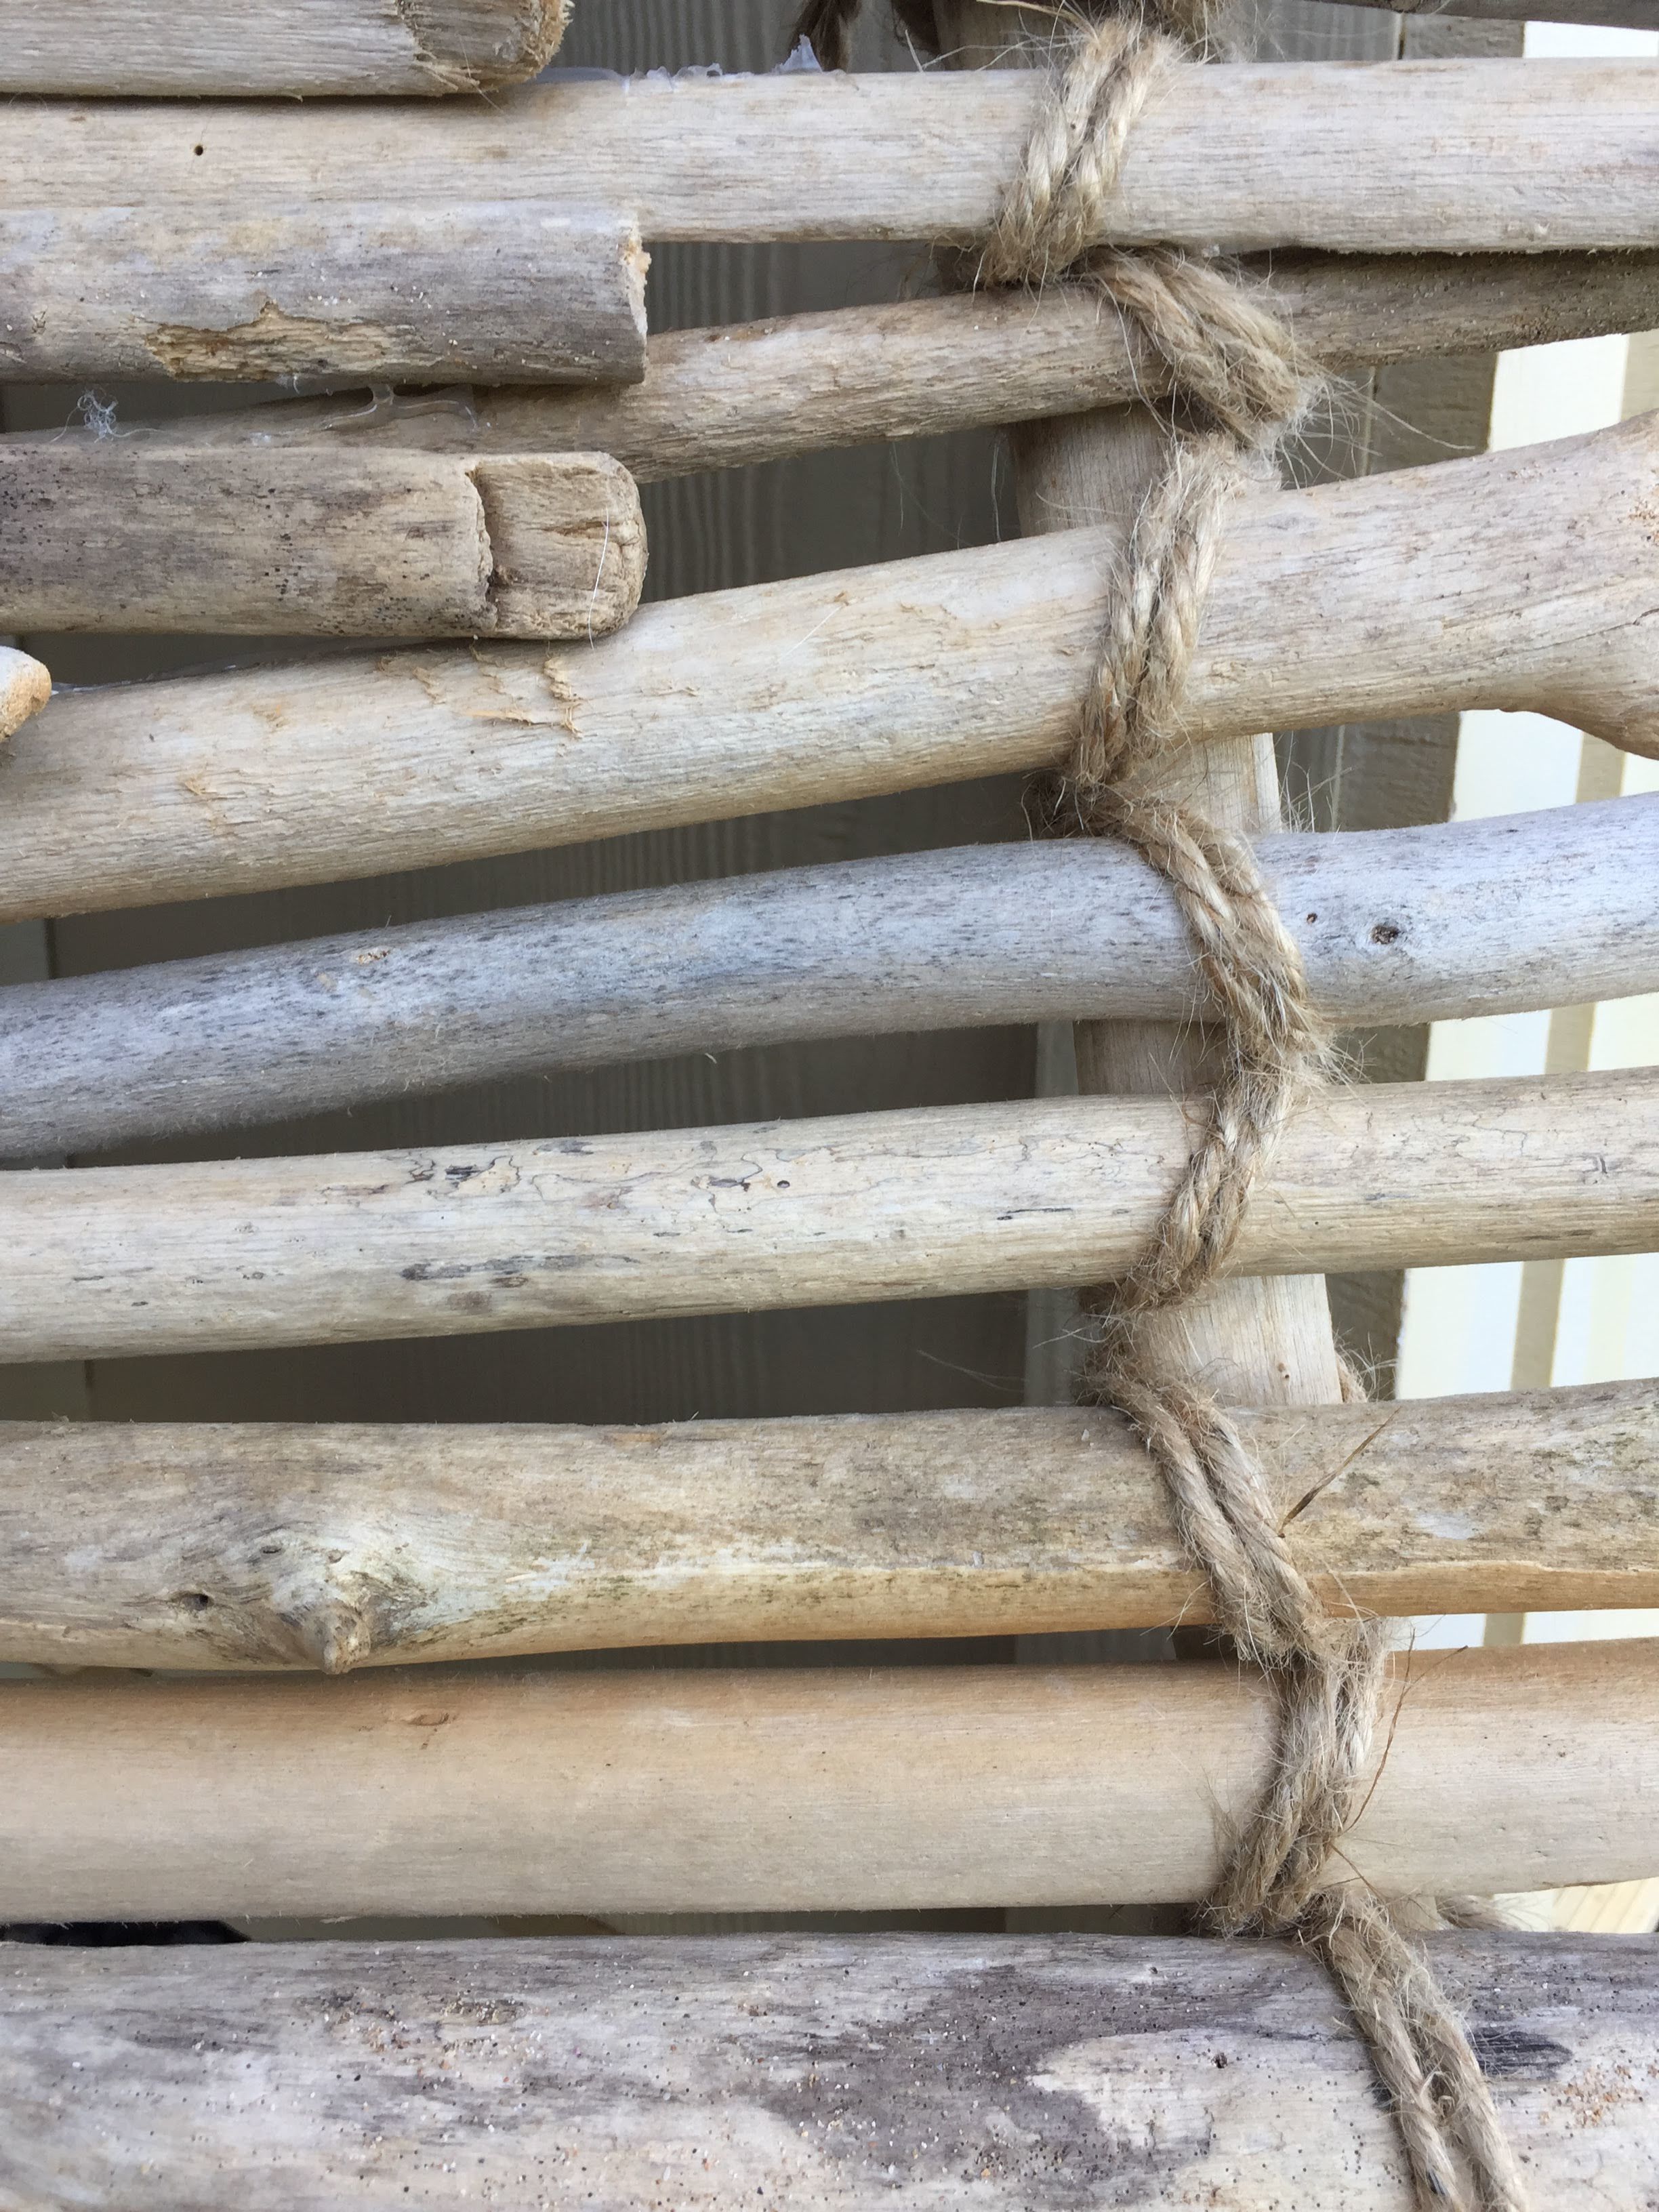
When the pieces seemed too small for that process, I tied them only to the main piece of the background of the Christmas tree. I changed the pattern up a bit and made it into more of an “x” pattern.
The picture below is an idea of what the back of the tree looks like. Not super pretty but it gives you an idea of the process!

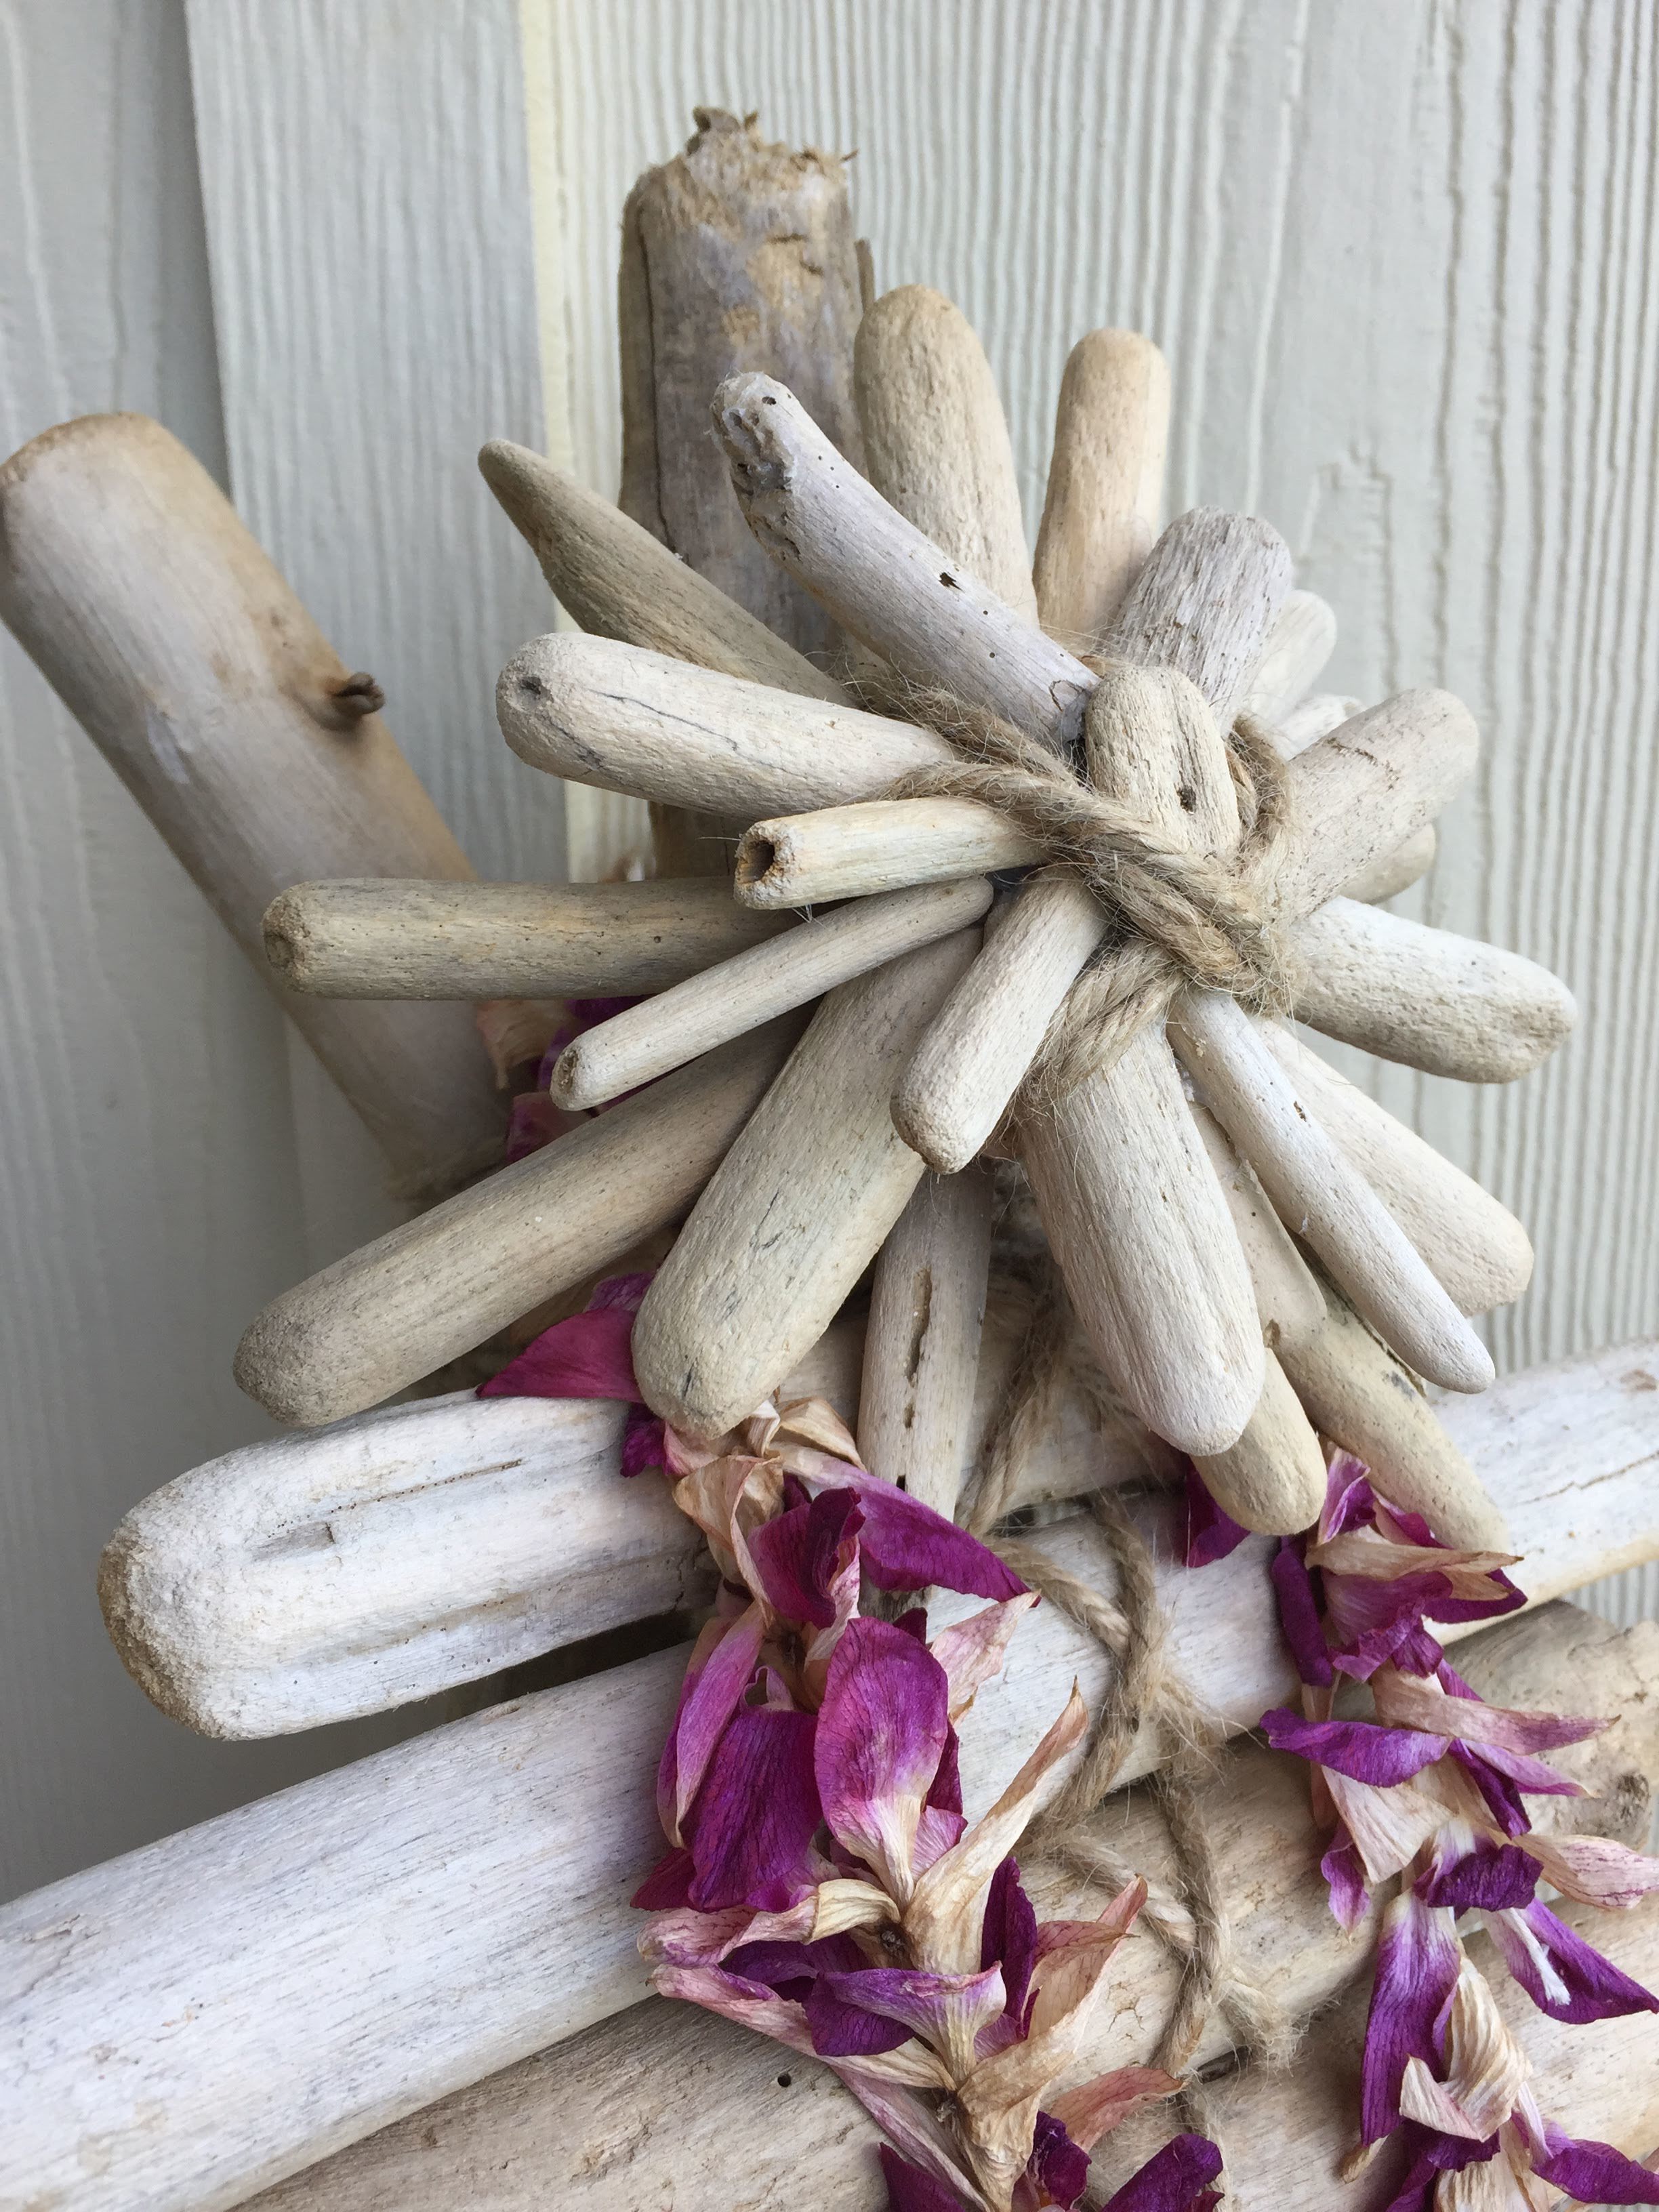
I piled all of the smaller driftwood pieces together and laid out five for the base of a star. I should’ve taken process photos for this. Whoops! I hot glued a square-ish wooden piece to the back then basically started hot gluing the rest in different places. When I felt it was finished, I hot glued one more small rounded square piece on the front. I added twine to cover up the glue. Lol! This is the first time I’ve crafted or even held a glue gun in my hand in a looooong time! I didn’t realize how much I’ve missed it!
Since my glue gun was hot and ready, I grabbed a few leftover driftwood pieces and glued them to the emptier spots in the tree.
The final touch was, once again, hats off to JD’s brilliancy. He grabbed the dried lei off our counter and said, “Why don’t we add this?” Perfection.

We tried to take a family photo when we finished but as you can see, someone ran off because she wanted to take the photo herself. Lol! I considered cropping out her arm but I just love the story behind this photo too much to do that. We love our little aspiring photographer!

Sometimes JD gives me small gifts that he doesn’t realize. And this was one of them. His ingenuity and belief that I could figure out how to make a driftwood Christmas tree he mentioned was an absolute gift to me. Sometimes I get stuck with Jitneys because I put unnecessary pressure on myself in thinking that everything I make or design, I will eventually need to sell. It’s the battle of an entrepreneur pursuit weighed against a passion for creativity. But this thing? We can’t ship it home and we can’t sell it. I’m so glad JD encouraged me to step away for a bit and focus on something without a price tag (though that wasn’t exactly his intention anyway). This tree is not something we can take with us, rather it will be a gift to those staying here after us. May the joy of Christmas and the spirit of Aloha be known and felt by those who see it.