Driftwood Christmas Tree in Hawaii: A DIY Tutorial

Since we’re spending most of the holiday season on travel, we had to add some Christmas spirit to our own back porch. JD knows how much I love decorating for Christmas - and being able to enjoy it. This whole driftwood Christmas tree was actually his idea!! People think I’m the creative one in the family, but he comes up with genius ideas like this all of the time. It always takes me by surprise and keeps me on my toes. He did, however, underestimate the gravity of his idea once I started piling on five foot pieces of driftwood in his arms. ;)

This is a fun project for the whole family! On Thanksgiving morning, JD and I gathered the larger pieces of driftwood while Mia Kai collected the smaller pieces in her sand castle bucket. She also found a great collection of pretty seashells that we may add onto our tree later during our stay.

Read More
Baby Pineapple // Mia Kai's First Halloween Costume!

We surprisingly debated on how to dress up Mia Kai for Halloween but ultimately decided that, well, she's our little pineapple. She just needs to be a pineapple. ;) 

With a little help from the Delia Creates tutorial, I made Mia Kai's mini pineapple hat using two shades of felt then painted hearts on her yellow onesie and hat. We were a tad nervous about putting her little hat on since she's not technically supposed to wear anything that constricts her head for long periods of time since her surgery. But she loved it and was actually pretty cool about wearing it! The onesie was actually a part of an outfit I bought from Babies 'R' Us on sale. It had two additional ruffles around the neck, one with a lemon pattern, so I removed those with my handy seam ripper and kept the sweet little top ruffle. We bought her sweet tutu from LillyBear Creations on Etsy, who I just adored working with!! 

Read More

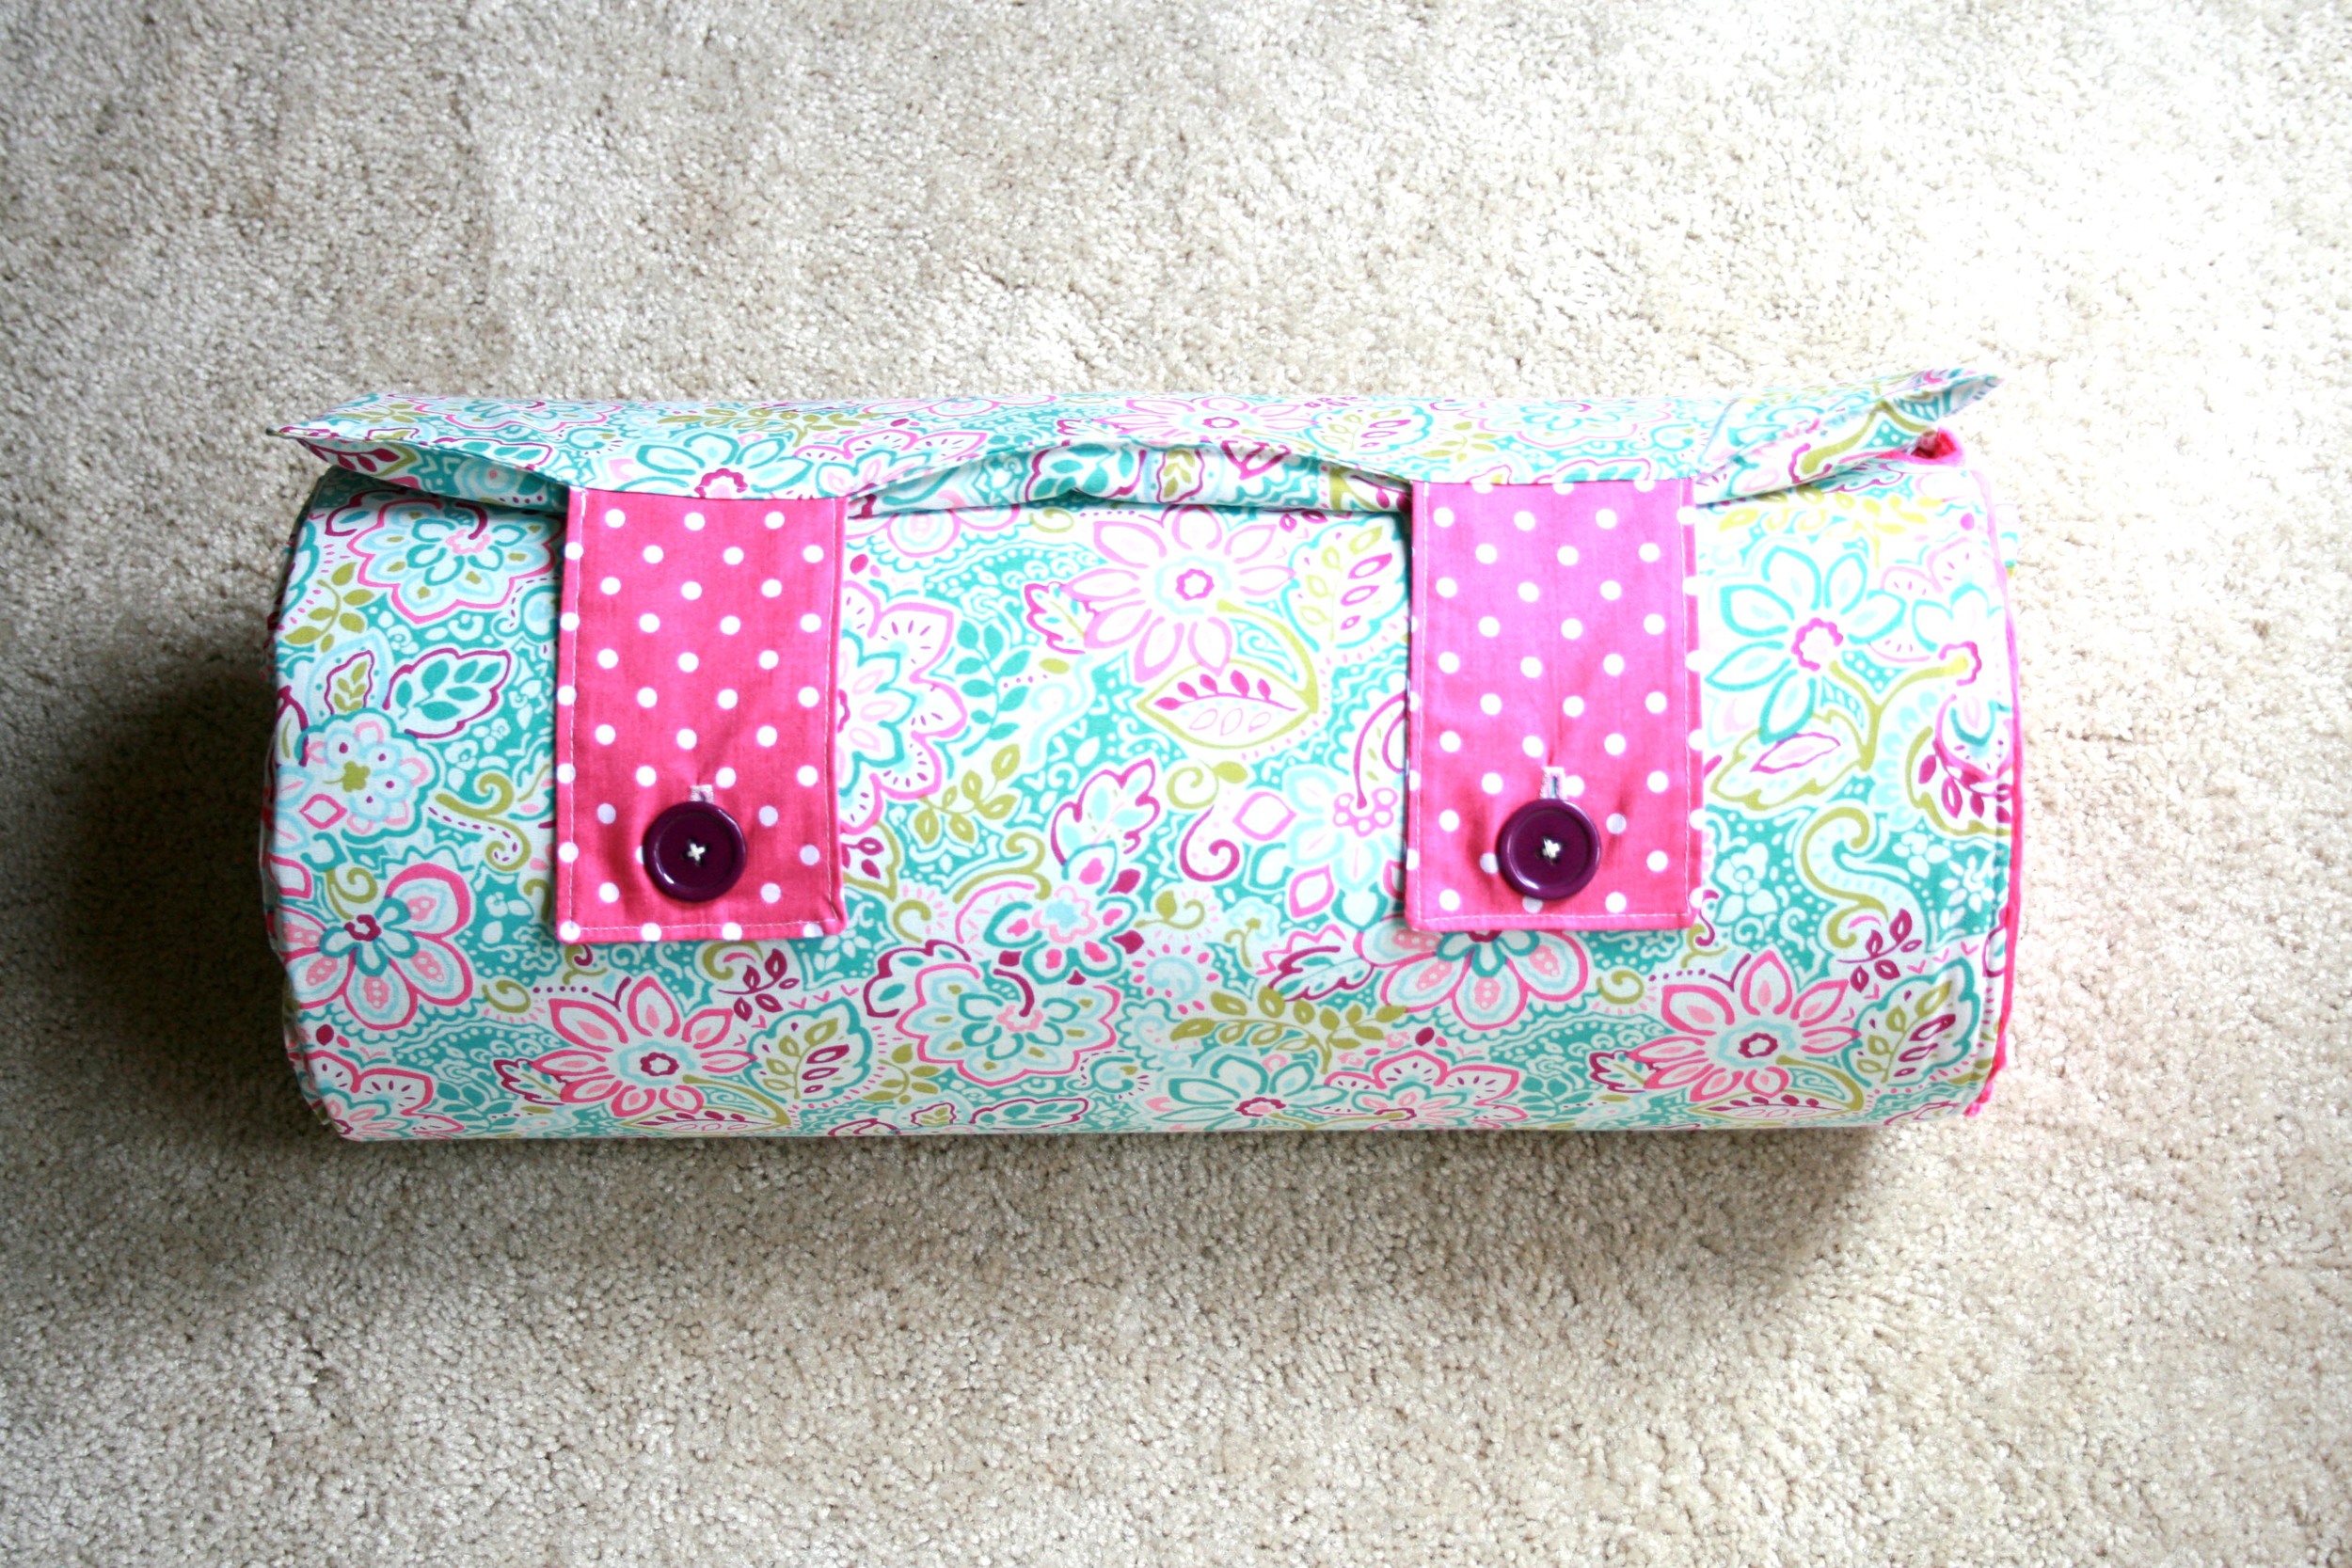
Jitney's Journeys : Custom Nap Mat for Kindergarten

A dear friend, Rebekah, asked me to make a nap mat for her little niece Brylee a couple of years ago. It blows my mind that Brylee's little sister, Ruthee, started Kindergarten this year and needed a nap mat too!! [Rebekah -> they are seriously growing up too fast!!]

I followed Jenny Garland's nap mat tutorial but made a number of adjustments.

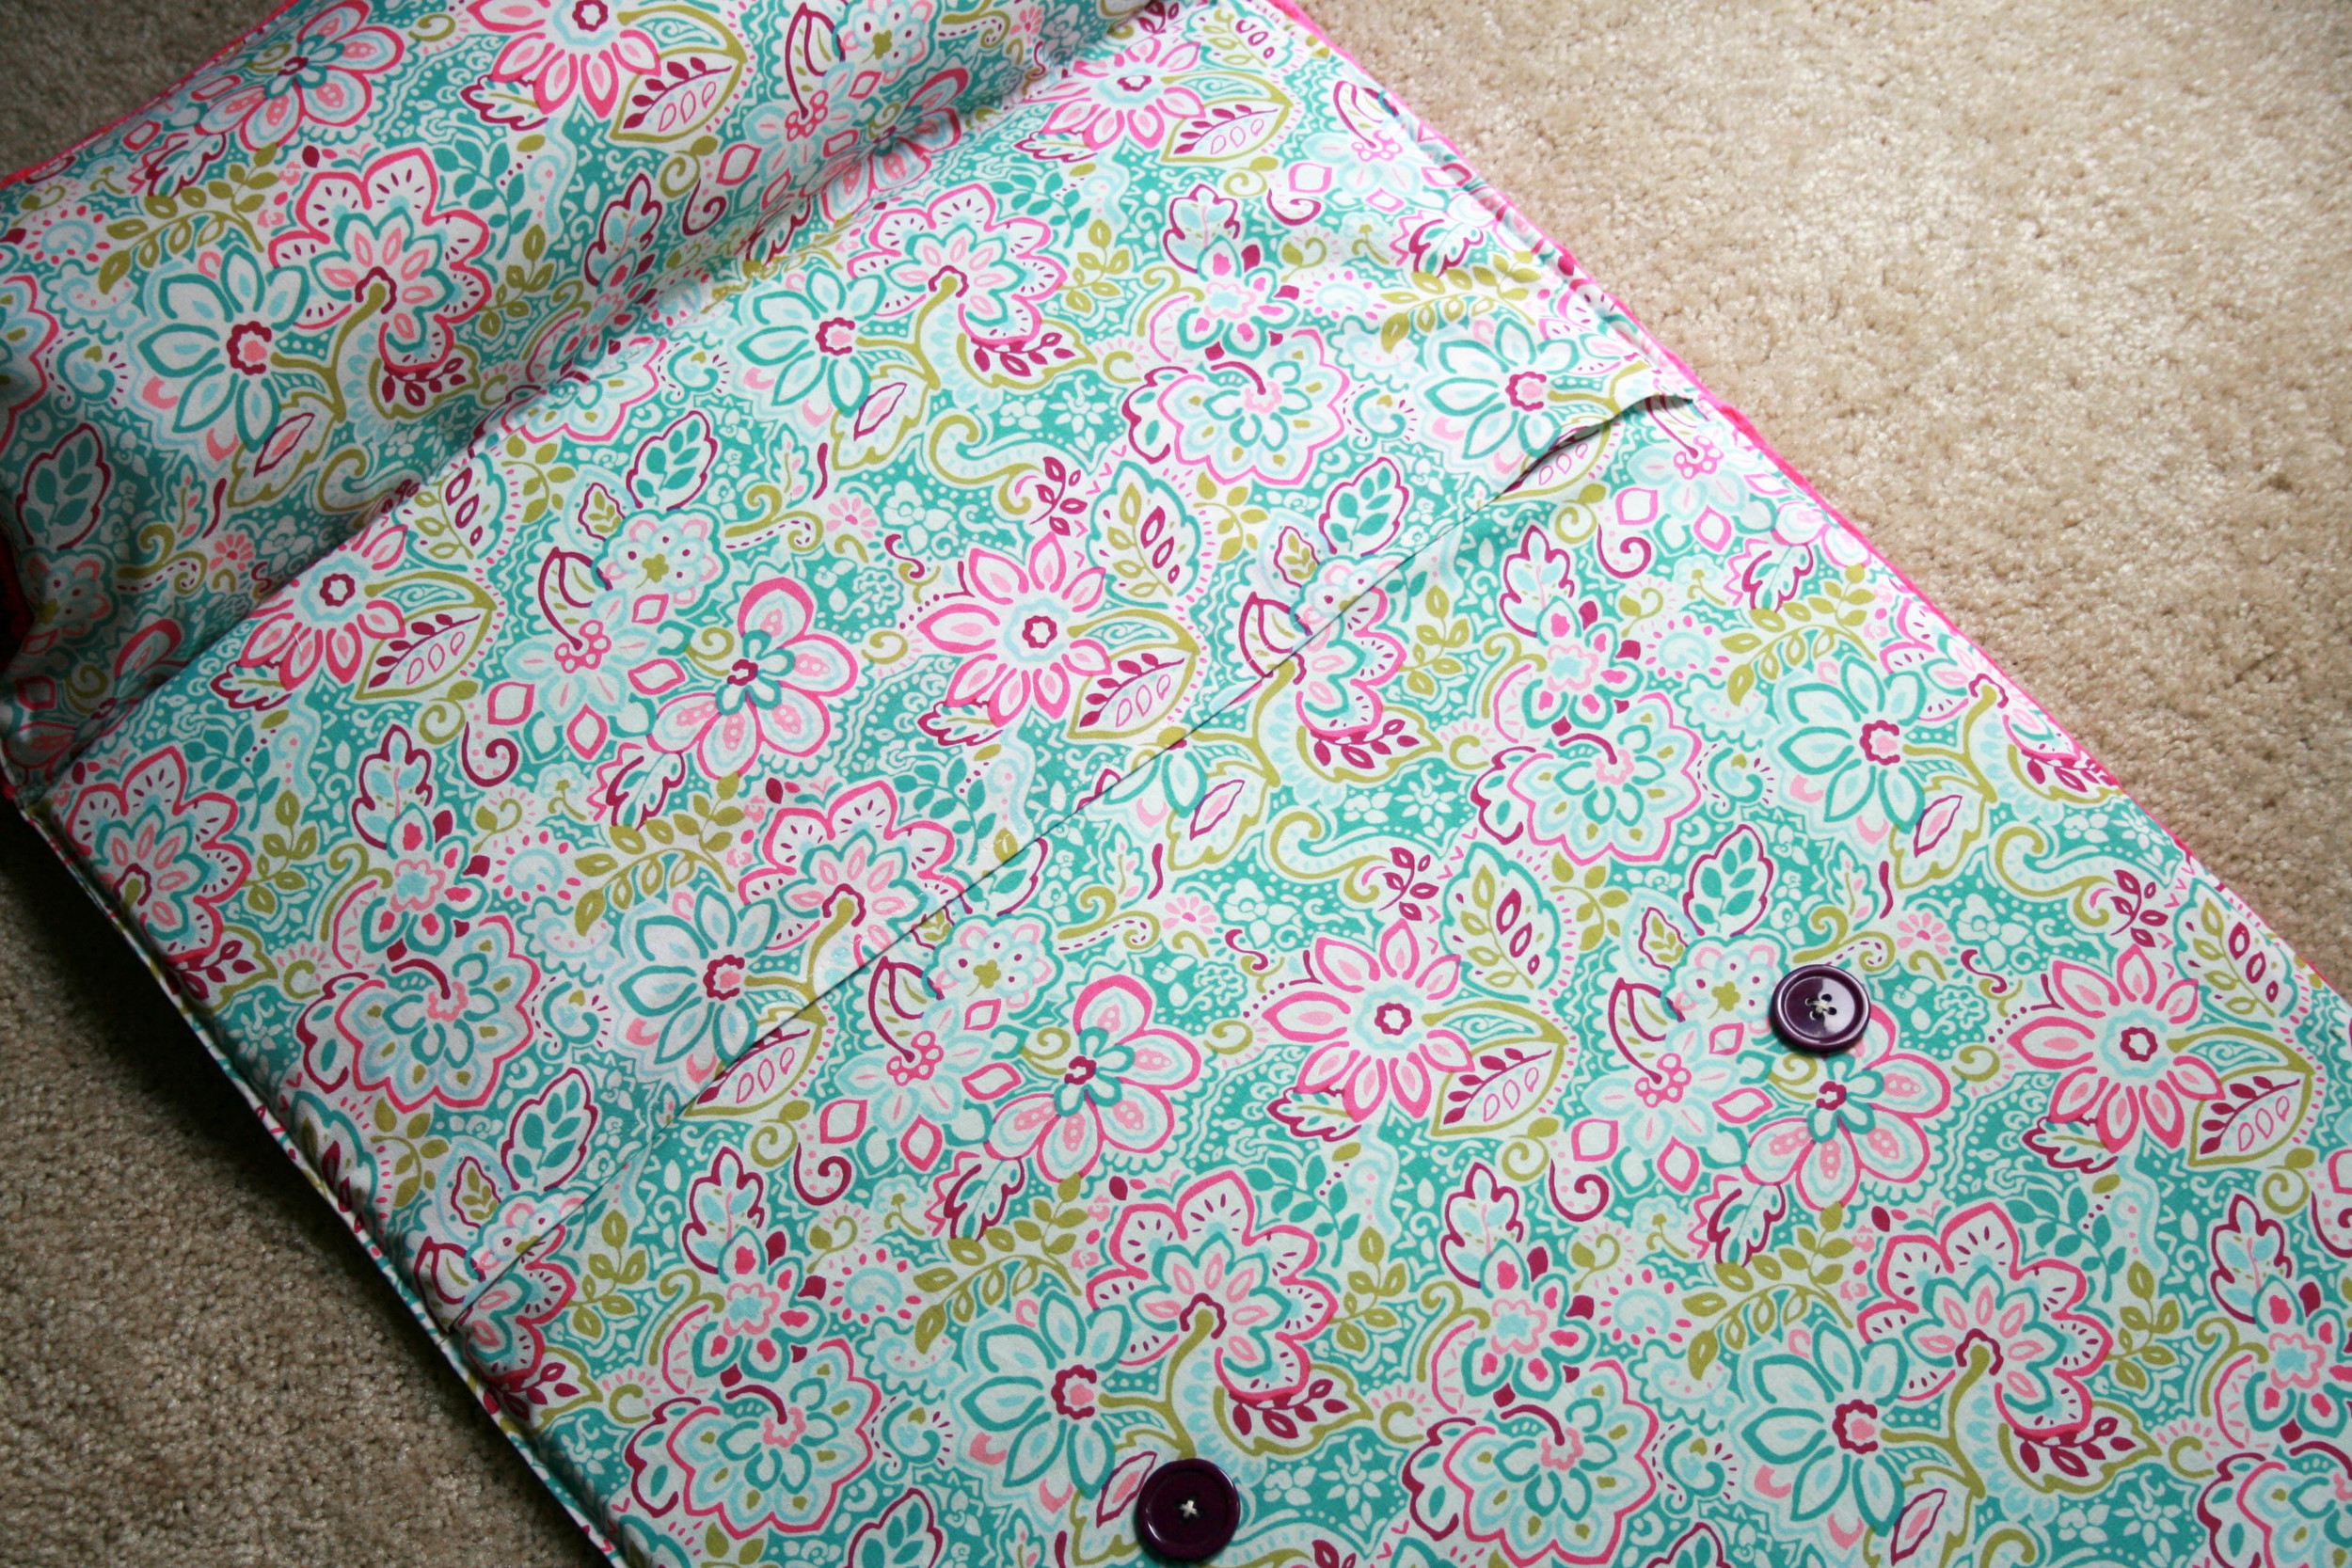
(1) I have a disdain towards velcro. I don't know what it is. Maybe it reminds me of a velcro wallet and it makes me cringe a little. I'm just not a fan. Then again, I'm not a mom yet so I may fall in love with velcro when that wonderful day comes to fruition. But back to the tutorial, instead of using velcro along the sides of the nap mat, I made an envelope casing across the back for easy removal of the foam. 

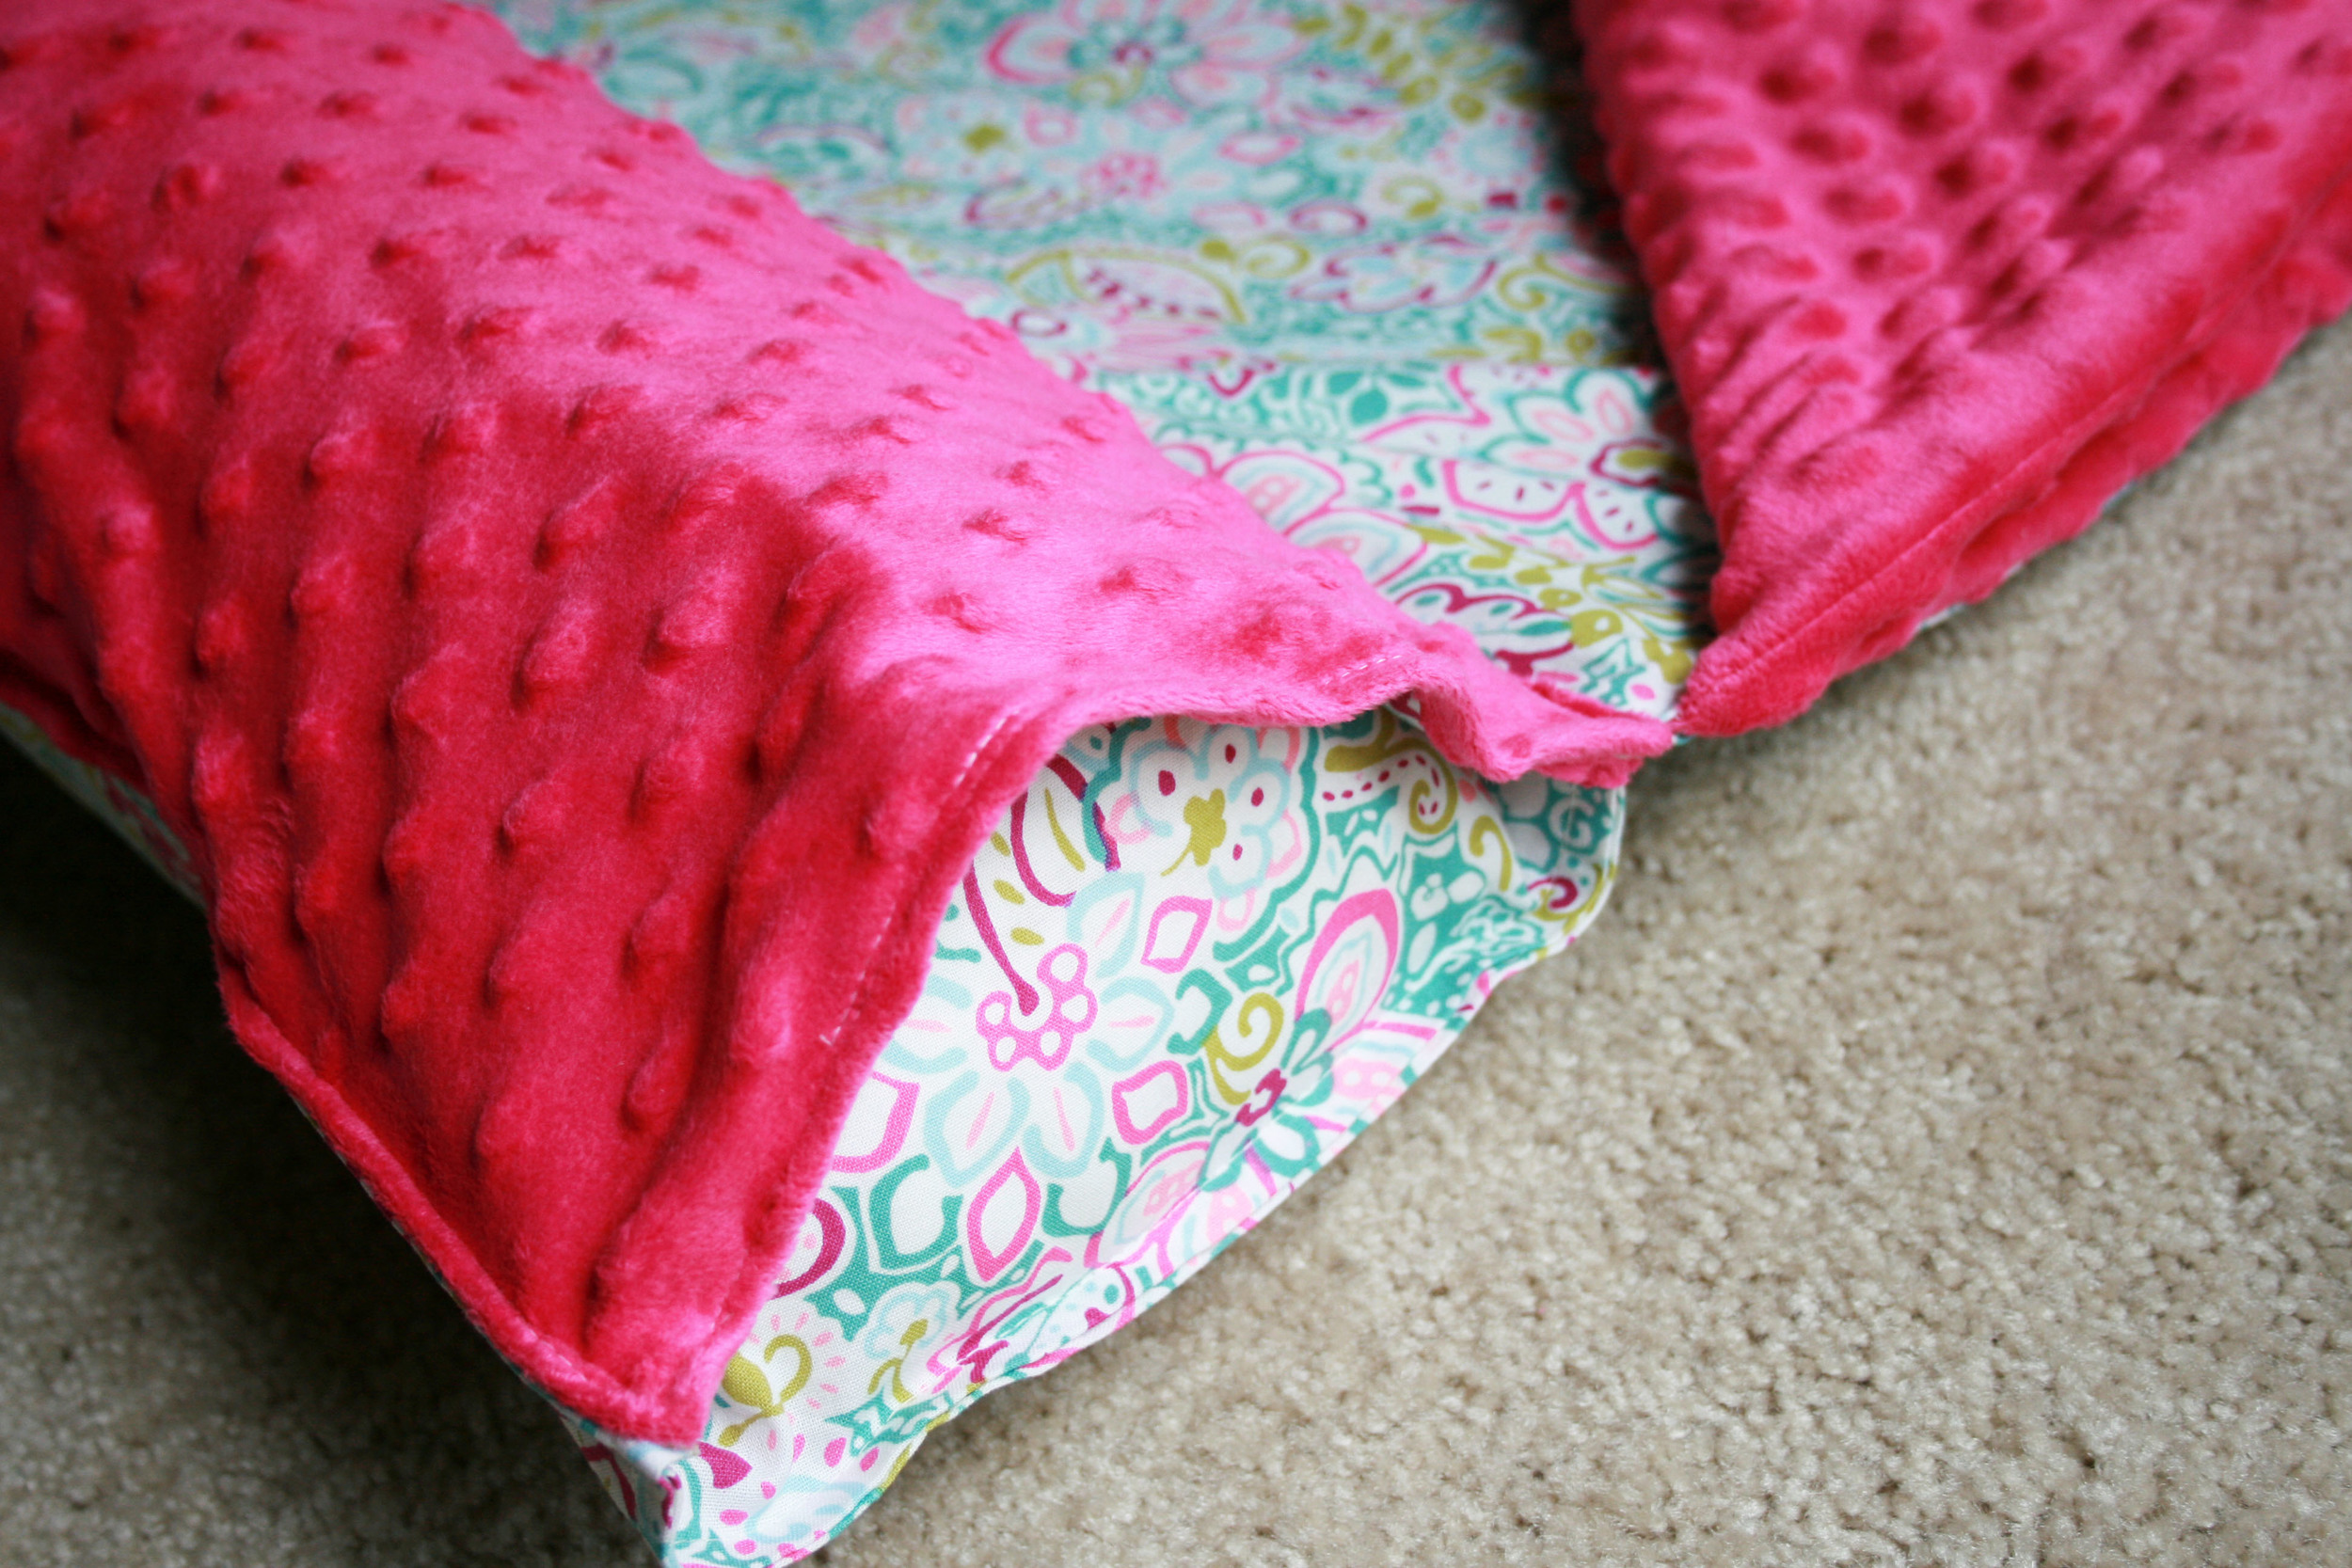
(2) I'm also developing a distaste for fiberfill stuffing. It always seems to get a little wonky when I use it to stuff pillows, etc. Instead of using fiberfill for the pillow, I created a pillow using a comfy, soft batting and created a little pillow case for that. I made another envelope casing for the pillow insert so that it could also be easily removed for washing purposes. I can only imagine that it will cut drying time significantly!! 

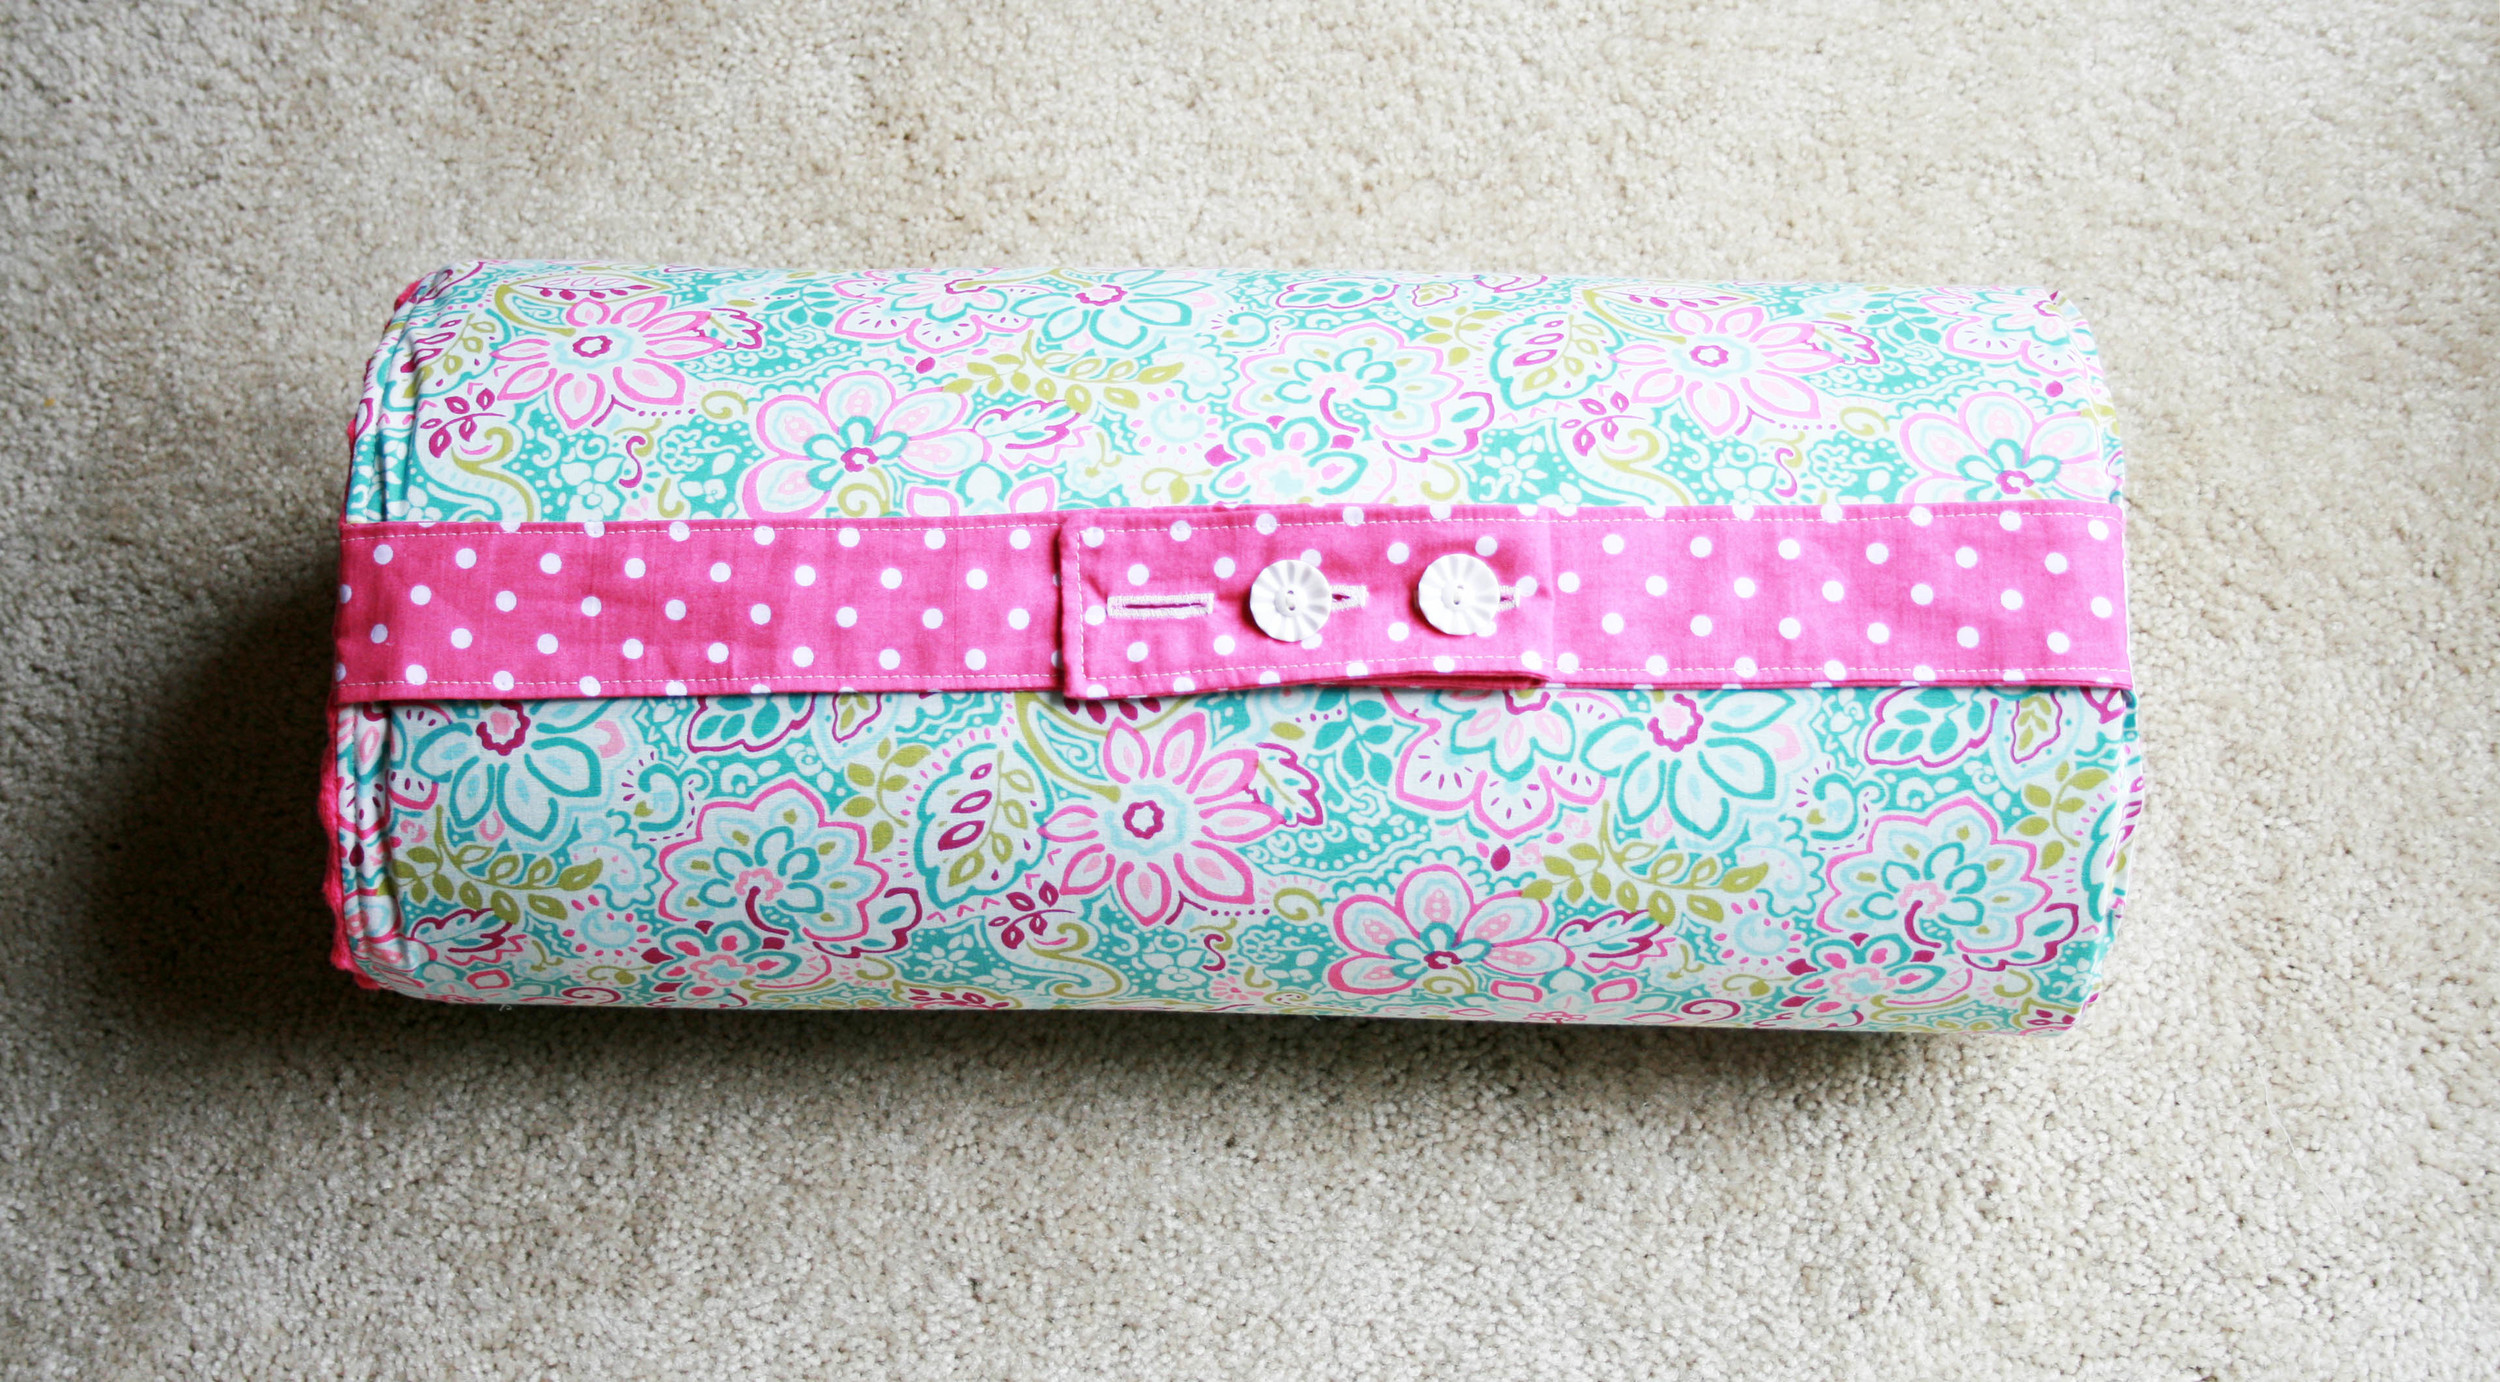
(3) Unlike the tutorial, I didn't use elastic for the arm strap. Instead, I added two buttons and created an extra buttonhole (room for growth). Thanks to my two tiny neighbors (Ava, 3, and Alyssa, 6), I was able to measure the strap accurately while still keeping it at a good length for the parents to carry too. 

(4) Instead of using the patterned fabric for the pillow, I used the minky fabric. It's so much softer than the regular fabric!!!

It looks super comfy, right?! Oh, how I miss the days of opportunities to take naps in Kindergarten (but if we're real here, we all know that more giggling and / or staring at the ceiling happens than napping at that age)!